9 Areas to Organize to Start the New Year

Organizing your home in January is a great way to start the year fresh and create a more comfortable and efficient living space. Here are some suggestions for areas you might consider organizing. Choose one or two impactful areas to start.

Living Room
- Declutter by removing items that don’t belong or that you no longer need.
- Clean and organize entertainment centers, shelves, and tables. Wipe furniture down while it’s emptied.

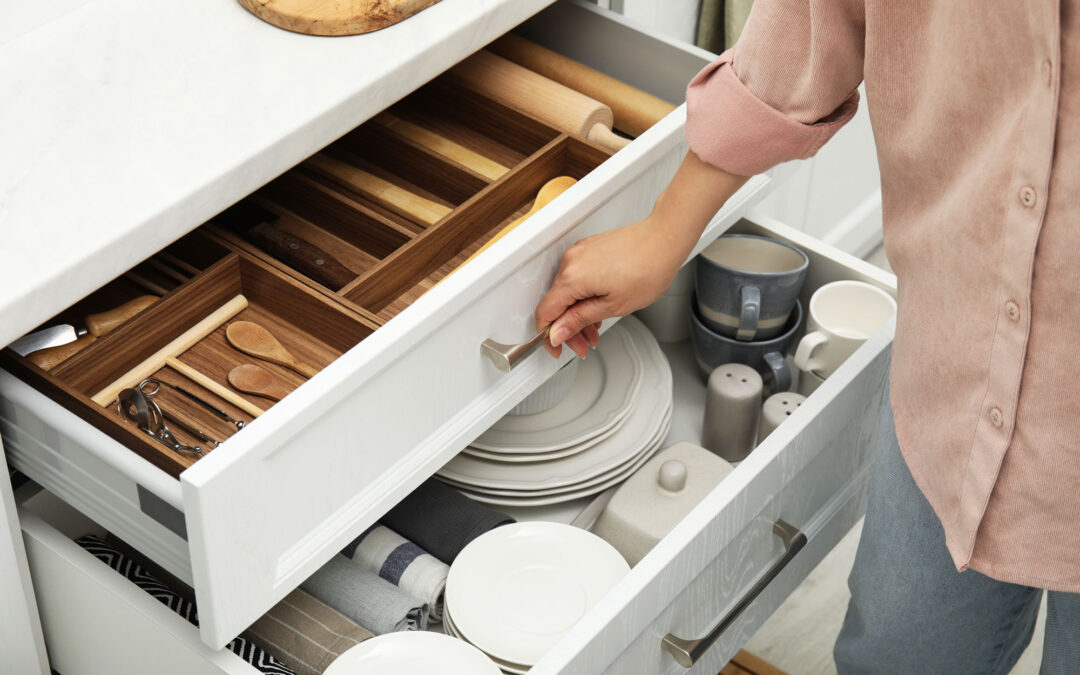
Kitchen
- Clean out your pantry and discard expired items. Plan your meals based on remaining items.
- Organize kitchen cabinets and drawers. Consider using containers for loose items if it makes sense.
- Wipe down and clean appliances.
Bedroom
-
Rotate and flip your mattress.
-
Launder and store seasonal bedding and clothing.
-
Declutter bedside tables and dressers.

Closet
- Go through your clothes and donate or sell items you no longer wear.
- Organize clothes by category (e.g., shirts, pants, dresses) and color.
- Consider investing in storage solutions like bins, baskets, or closet organizers after you have gone through your clothes.

Bathroom
- Dispose of expired medications, toiletries, and beauty products.
- Remove products you do not like. Donate unopened items you do not want.
- Organize cabinets and drawers, using containers or dividers.
- Wipe down cabinets and drawers for a fresh start.
- Scrub toilets and showers.
Home Office
- Declutter your workspace. Remove unnecessary items.
- Organize cables and cords.
- Clean your computer and backup important files.
Paperwork
- Sort through important documents. File or scan items you need. Shred or recycle documents you don’t need.
- Set up an organized filing system for unopened mail, bills to pay, items to file and items to do. It is also good to have a tax file where you can dump any items you will need for preparing your taxes.
Digital Space
- Clean up your computer desktop and organize files.
- Back up important digital files and photos.
- Clear unused apps from your smartphone.

Clean
- Dust and clean all surfaces.
- Clean windows and curtains.
- Deep clean carpets, rugs, and upholstery.
Remember to set realistic goals and take it one step at a time. Breaking down the tasks into smaller, manageable steps can make the process less overwhelming. Consider involving other members of your household to make it a collaborative effort. Join an on-line decluttering group such as 30-Day Declutter Challenge to keep you motivated and accountable.
Being organized is a process, and it’s important to approach it at a pace that feels comfortable for you. Start small, plan one event at a time and develop systems to maintain organization. Gradually, you’ll experience the positive impact and being organized will come naturally. If organizing is daunting task, the professional organizers at Top Shelf Home Organizers are happy to help. Contact Jayme for a consultation.
Simple. Life. Solutions.
We would love to put our talents to use making your home and office functional and organized. Let us know how we can help your space be the best it can be.