
7 Areas to Keep Organized in May

May is the month of transitions: school to summer, spring to warm weather, and busy routines to flexible schedules. A little organization now can help your family finish the school year strong and step into summer with less stress. Here are Top Shelf Home Organizing’s top tips to keep busy families organized during the month of May.
1. School Papers and End-of-Year Projects 🗂️
May brings a flood of permission slips, artwork, graded assignments, concert programs, sports schedules, and end-of-year notices. Create a simple system for sorting what needs action, what should be saved, and what can be recycled.
2. Family Calendar and Event Schedule 📅
Between graduations, field trips, recitals, sports tournaments, teacher appreciation events, and family celebrations, May can feel like a second December. A shared family calendar helps everyone see what is coming and reduces last-minute stress.
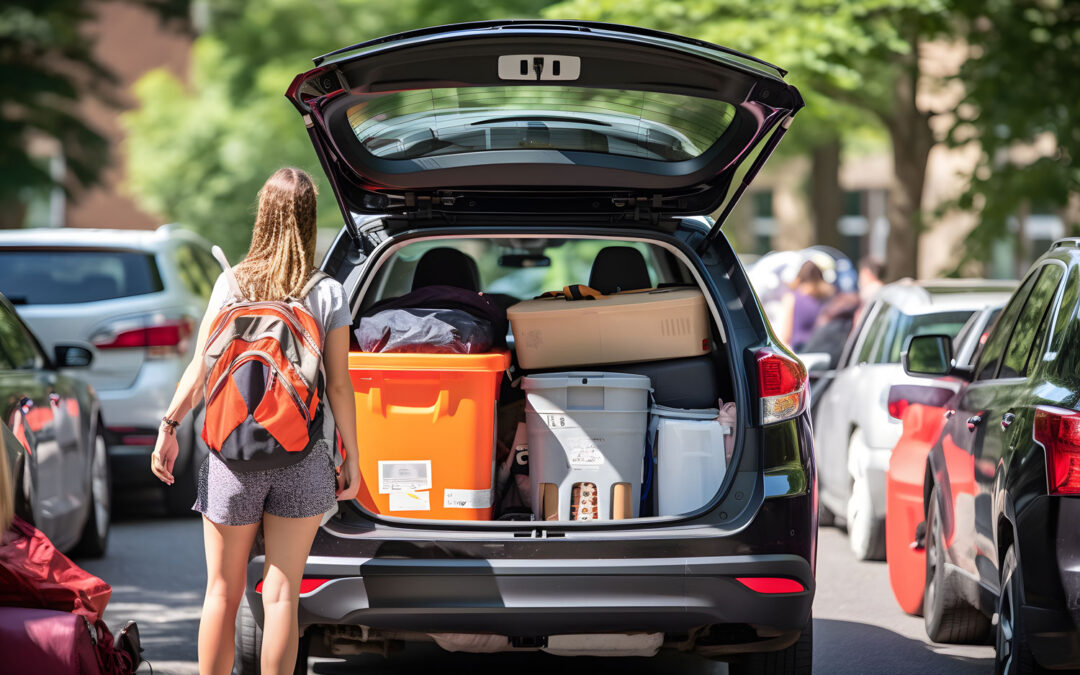
3. Summer Activity Plans ☀️
Camps, childcare, sports clinics, vacations, summer jobs, and enrichment activities often begin shortly after school ends. May is the perfect time to confirm registrations, payment deadlines, transportation plans, and supplies needed.
4. Seasonal Clothing and Gear 👕
As the weather changes, families often need both spring and summer items within reach. Sort jackets, rain gear, sports uniforms, swimwear, sandals, sunscreen, and hats so everyone can quickly find what they need.
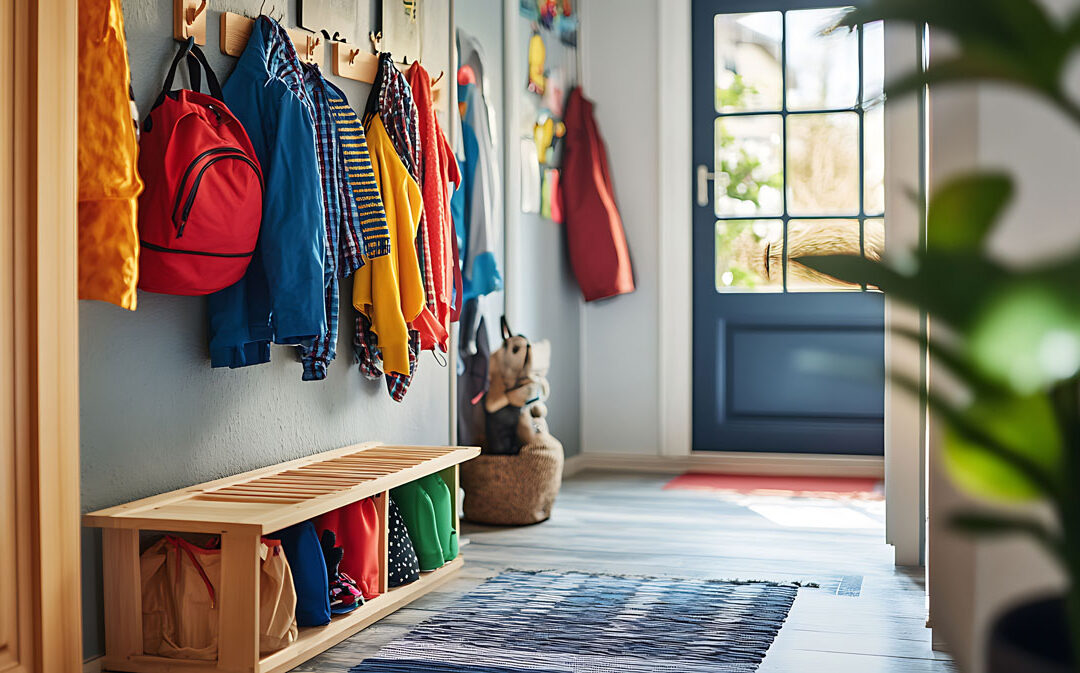
5. Mudroom, Entryway, and Drop Zones 🧺
May is busy, and the entryway can quickly become a pileup of backpacks, sports bags, shoes, umbrellas, and outdoor gear. Refresh hooks, bins, shoe storage, and labeled zones so the whole family has a place to drop and grab items.
6. Outdoor and Garage Items 🚲
Bikes, scooters, gardening tools, lawn games, patio cushions, sports equipment, and beach gear all start coming out in May. Organizing the garage or outdoor storage now makes summer activities easier and more enjoyable.
7. Meal Planning and Kitchen Staples 🍽️
With evening activities, end-of-school events, and warmer weather, May dinners can become rushed. Keep quick meals, snacks, lunch supplies, water bottles, and picnic or grilling essentials organized so busy nights feel more manageable.
When time is limited, choose the one or two items that cause the biggest stress and focus on those. Ask for help when it becomes too much. Top Shelf Home Organizing would love help you keep this month going as smoothly as possible.
Simple. Life. Solutions.
We would love to put our talents to use making your home and office functional and organized. Let us know how we can help your space be the best it can be.