8 Areas to Organize in February

8 Areas to Organize in February

Getting organized in February is a great idea as it can set a positive tone for the rest of the year. We love the idea of resetting your home before the warm spring air returns. Here are eight areas to focus on in February:

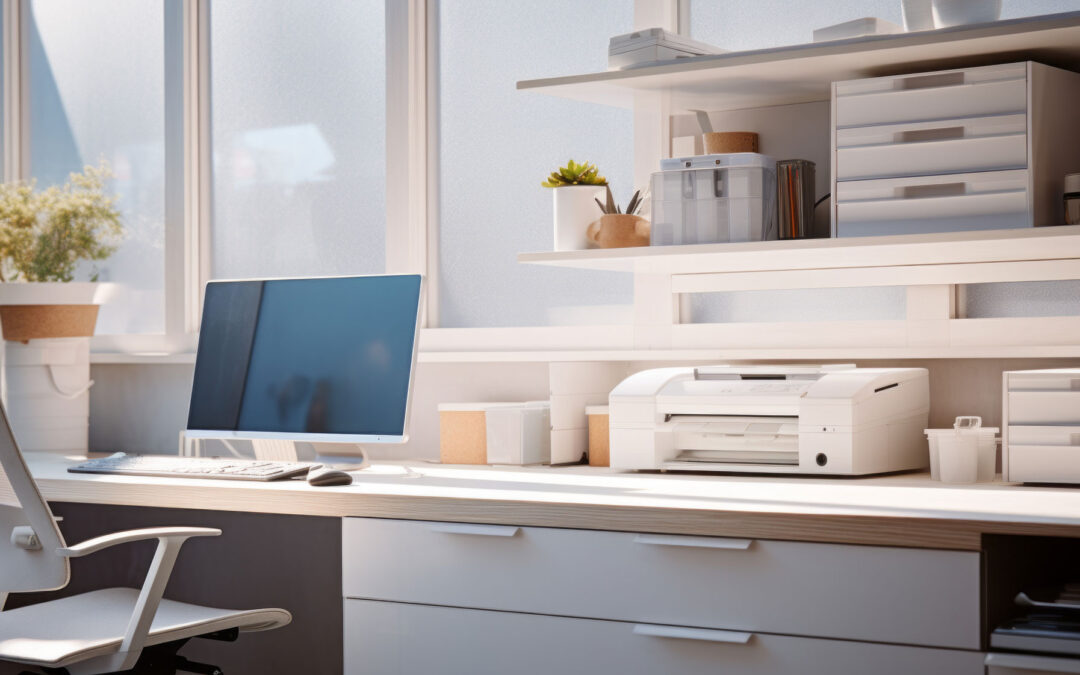
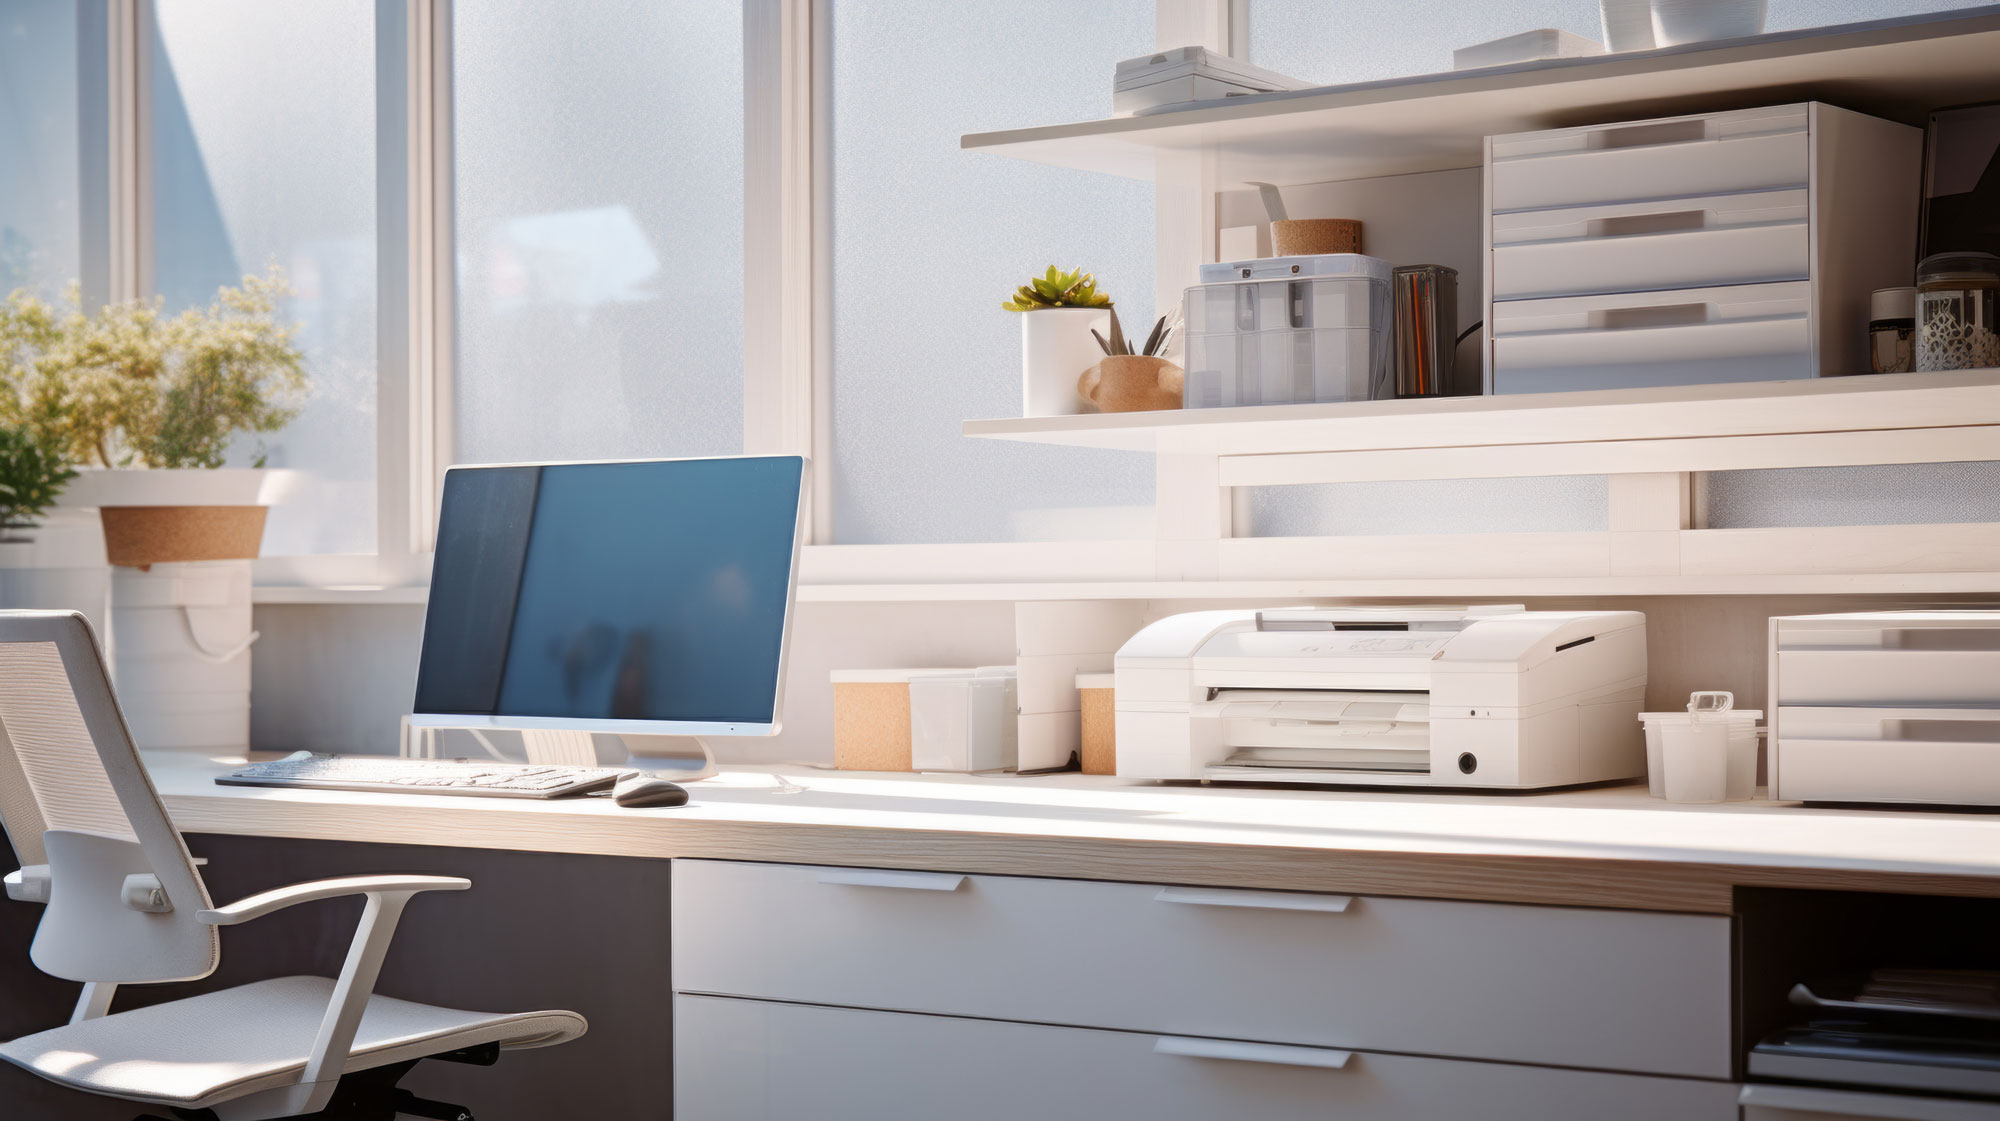
Home Office

Declutter and organize your home office. File away paperwork, clean up your desk, and declutter digital files.

Digital Organization

Declutter your digital life by organizing your computer files, emails, and apps. Delete unnecessary files and create a system for better organization.

Tax Preparation

Start organizing your financial documents for tax season. Create a system for keeping track of receipts, invoices, and important documents.

Valentine's Day Decorations

If you decorate for Valentine’s Day, take the time to organize and store those decorations once the holiday is over. Purge the decorations you don’t use.

Pantry and Refrigerator

Check the expiration dates of food items in your pantry and refrigerator. Discard any expired items and organize your shelves.

Linen Closet

Straighten up your linen closet. Fold and organize towels and sheets, and discard any worn-out or mismatched items.

Bedroom Closet

Tidy up your bedroom closet by decluttering clothes, shoes, and accessories. Donate or sell items you no longer need.

Winter Clothing

Sort through your winter wardrobe and donate or store items you won’t be needing for the remainder of the season. Organize coats, scarves, and gloves in a designated area for easy access.

Remember to take it one step at a time, and don’t be afraid to enlist the help of family members or roommates. Setting aside dedicated time each day or weekend can make the process more manageable and less overwhelming. The organizers at Top Shelf Home Organizing are happy to help. Reach out to Jayme for any questions you have on organizing your home and office.

Simple. Life. Solutions.

We would love to put our talents to use making your home and office functional and organized. Let us know how we can help your space be the best it can be.

Organizing Paperwork

Are you stressed by unmanaged paperwork around your home and office? Searching for important documents may seem hopeless. Interest charges and late fees can pile up quickly on misplaced bills.  Deadlines are easily overlooked. Getting on top of your papers and developing a good paper management system will reduce stress. Here are some tips on how to get your paperwork organized, and regain control of your home and office.

Convenient Location

Where you manage your paperwork should be convenient. Going to a secluded area of your home may not encourage you to manage your paperwork. If it is not an area you enjoy being in, you won’t go there. 

The workspace should have ample surface area, basic office supplies (envelopes, pens, address labels), computer and printer, paper recycle bin and shredder.

Remove the
unnecessary, immediately

Sort your mail as soon as it comes in, with a recycle bin and shredder within an arm’s reach. Junk mail should be recycled immediately. Refer to a document retention guideline for guidance on what documents to keep and for how long.

Initial sorting

Create a temporary, simple filing system for the initial sorting of your paperwork. This file system could include files labeled:

File – for files to be filed

Pay – for bills to be paid

To Do – for items that require attention within the next month

Read – for documents that will required your dedicated attention

Regularly go through and pay, sort and file

Set up a weekly time to go through the temporary files. Coordinate your bill paying with your pay dates. File papers from the ‘File’ file. Review your ‘To Do’ file for items needing attention within the next week. Take some time to read through the files from your ‘Read’ file. 

It is important to always be aware of what papers, documents and receipts enter your home. Receipts can be sent via email or not retained at all. Be selective of what documents are collected at trade shows, conventions and seminars. Only accept the documents that are relevant to you. Be mindful of the mailing lists, marketing emails and promotional lists you sign up for. 

Once your paperwork system is set up, plan to set aside time every week to maintain and manage your paperwork. Staying on top of your system will reduce stress and ensure you keep on top of your work and bills.

If setting up a paperwork management system is overwhelming, a professional organizer can help you started or guide you through the entire process. Top Shelf Home Organizing takes pride in working with people to organize and streamline their paperwork. Reach out to Jayme if you are ready to get your paperwork organized.

Organizing an Emergency Kit & Plan

Emergency KitBeing organized can be especially helpful in times of emergency. It is a good idea to have an emergency kit ready to go, and to have a plan that is communicated to all members of your household. The list of items that could be needed is exhaustive and endless. The importance of being prepared means you have the supplies and documents ready for your household in case of an evacuation, as a worst-case scenario. Keep in mind, business could be closed, banks could be closed and the internet could be down. Here is a guide of suggestions to getting organized for emergencies. A formal kit can be found at ready.gov.

Food and Water

  • 7- to 10-day supply of non-perishable food and water
  • Include some comfort foods to help ease anxiety
  • One gallon of water per person per day as a guideline

Money

  • Small denominations, ten-, five- and one-dollar bills
  • To purchase food, gas, other daily needs
  • Amount depends on the size of your family ($2,000 cash is a good starting point to allow for basic needs and travel if evacuation is needed)

Medications

  • Prescriptions for at least two weeks
  • Non-prescription including pain relievers, stomach remedies, cough and cold remedies, fluids with electrolytes, and vitamins
  • Medical records

Documents

Store copies of these in a fire proof safe inside a water-tight container, in a bank safe deposit box, and copies at a trusted friends or relative. You can also keep a digital copy in a removable drive.

  • Personal Information
    • Driver’s license or another photo ID
    • Birth certificates, adoption certificates, custody documents
    • Marriage license, divorce degree
    • Social security card
    • Child identity cards
    • Passport/green card, naturalization documents
    • Military: military id, military discharge record
    • Pet: id tags, prove of ownership, microchip information, emotional support letter, certification for service animals 
  • Household Information
    • Name, date of birth, place of birth
    • Address and mailing address
    • Name of spouse or partner
    • Employment information including supervisors with contact information
    • Spouse employment information
    • Emergency contact
    • Children information: name, address, date of birth, email, phone, school
  • Financial and Legal
    • Estate planning
    • Living will, trust, power of attorney and advanced directives
    • Financial
    • Checking, saving, investments, retirement
    • Print and keep a hard copy of the most current bank: name of institution, type of account, account number, institution phone number and website
    • Sources of income
    • Pay stubs, government benefits, alimony, child support, rewards accounts 
  • Tax Statements
    • Previous year’s tax return, property tax, personal property tax
  • Insurance
    • Health, property, life, automobile, disability, appraisals, pet, flood, funeral
    • Firm name, name of policy holder, policy number, claims phone number, type of policy, value, coverage period, website
    • Understand how your home or renter’s insurance can assist you in an emergency
    • Video or photograph rooms in your home and valuable belongings
  • Financial Obligations
    • Housing, utility, loan, credit card, child support
    • Have a list of what bills are on autopay, download and print a copy of your last statement or applications to enroll
    • Document and print your FICO score 

Fuel

  • Keep tank of gas above half full at all times
  • Have fuel available for your back up generator

Supplies

  • Battery-powered or hand crank radio and NOAA Weather Radio with tone alert
  • Flashlight and extra batteries
  • First aid kit
  • Whistle
  • Dust mask
  • Plastic sheeting and duct tape to create a shelter
  • Moist towelettes or wet wipes, trash bags with ties for personal sanitation
  • Tools (wrench or pliers) to turn off utilities
  • Can opener for canned food
  • Local maps
  • Cell phone with charger
  • Battery pack charger for phone
  • Personal hygiene supplies

At Top Shelf, we love to help busy families plan and prepare.  If thought of planning for an emergency is overwhelming, see how Jayme and her team can help.

A Student’s Guide to Organizing Coursework

Organizing CourseworkWhether you are in high school or in college, having a system to organize your course work will set the foundation for success in your courses. Keeping an organized course portfolio for each class can help with homework, studying for exams, and reference for the next course in a sequence. In the long term, having organized work can assist with future courses, standardized test preparation and professional licensing.  These portfolios can also serve as sample work for college applications, graduate school admissions, job applications and scholarship applications. A portfolio could be created with a simple three ring binder or electronically using PDF documents.

Cover
The cover to a course portfolio should include:

  • Course name
  • Course number
  • Course term and date
  • Instructor name
  • Your name

To save time, consider creating a template in a word processing document so that information for each course can be easily entered and saved.

Table of Contents
The basics of a Table of Contents is to assist you in finding the information that is included within the portfolio. At a minimum, this page will include the titles of each section of the portfolio. These sections are listed below in bold. If you want to add detail to the table of contents, a suggestion is to add subtitles to each section.  The Lecture Notes section, for example, would include the topics of each lecture, and the Lab section would include the titles to each lab.

Lecture Notes
The lecture note section of the portfolio is where you gather and store the lesson information that is presented in the classroom. The material is placed chronologically in the portfolio. Lessons may be provided in a visual presentation software such as PowerPoint or Google Slides, PDF or another file. Some instructors may not provide lesson outlines or notes, as they may feel a student is more engaged and likely to retain material if they create their own notes.

The content of the Lecture Note section will include:

  • Lesson outlines provided by instructor
  • Your notes (these may be handwritten, markups on a PDF, notes added to a visual presentation file file, or notes added to other files the instructor provides)

Handouts
Supplemental handouts
The instructor may provide handout or additional files to supplement their lecture materials.

Reference material
The instructor may include reference material that they used to prepare their lecture, or material that the student can refer to for additional reinforcement.

Articles

  • Current articles can be helpful to reinforce the lecture materials and add interest to the material being presented.
  • Other materials provided by instructor
  • Reference material


Assignments
Chronologically placed in portfolios
Cover page
Assignment name
Assignment number
Date submitted
Instructor name
Your name
Original assignment sheet
Graded assignment
Revised assignment

Exams
Chronologically placed in portfolio
Exam cover sheet with material, lectures and chapters covered

Labs
Chronologically placed in portfolio
Lab name
Lab number
Date performed
Date submitted
Instructor name
Your name
Lab team member names
Formal lab write-up
Lab instructions
Lab lecture notes
Handwritten notes and data collection
Photos of procedure and results
Resources referenced

Having organized files on your hard drive and on a network is equally important.  Providing structure to the way the work is saved and titled helps students access their work when assignments are due, study for exams and reference work in the future.

  1. Make one main file devoted to your schoolwork. Title this folder with your school name. Add subfolders with the school year or term. For example, “Spring 2020.”
  2. Within the term file, create a subfolder for each class you take. (Tip: Use the full name of the class, i.e., “AE 1001 Freshman Seminar.” If that’s too long, use the department abbreviation and course number, i.e., “AE 1001.”)
  3. Each class will have similar subfolders to keep specific material. These folders will likely include Lecture Notes, Handouts, Assignments, Exams and Labs. The files within these files will have a clear and unique name starting with the category followed by the details of the file. For example, lecture notes from the sixth lecture may be titled “Lecture 6.” Your instructor may require a particular file-name structure that includes your name if the work is being submitted via e-mail or a cloud-based workspace such as Dropbox or Box. To ensure that your work will be accepted for full credit, pay attention to the guidelines provided in your syllabus, in class, or within the course.
  4. Save your final file to the appropriate course folder. You may consider saving to your own drive and backing up to the cloud, or an external drive to protect your work.

Keeping course work organized is a critical aspect of a student’s success.  Guiding them through this process a few times will help them build structure for future success and independence. An organized course portfolio can serve as application and scholarship material, be used for reference for future courses and careers, as well as a reference for standard testing and professional licensing.

See if Top Shelf Home Organizing can help you get your next organizing project started and completed.  Contact Jayme to schedule a consult or chat about organizing.

Step by Step Guide to Transition from Paper to Electronic Files

Whether you own a business, run an office, are an entrepreneur or manage a household, going paperless can reduce clutter and improve efficiency.  Although it is nearly impossible to go completely ‘paperless’, you can benefit greatly by digitizing much of your paperwork. This will reduce the amount of physical paper you keep.

Benefits to reducing physical papers include increasing productivity, reducing time spent on paper management, and having a system that is easily accessible to you and your team.  This article focuses on creating a system of digital document workflow.

Document Workflow

Having a basic document workflow is the first step in properly establishing a reduction in papers. This simple workflow is described below.

Reception-Inbox-Capture-File


Reception

Reception includes receiving of both physical and electronic documents. Reduce the number of documents that enter your office by unsubscribing to emails and physical subscriptions. Eliminating the unnecessary saves time from having to manage useless papers. Recycle unnecessary physical documents and unneeded emails immediately. The remaining documents move to or stay in the Inbox.

Inbox

Have an inbox where documents are placed when they come in. This is where the documents reside until they are addressed. You should have a physical inbox and an email inbox for each person involved.

Once the document is addressed (read, paid, acted on, forwarded), it will be captured and moved the place it will be stored. How and when you move documents to file is up to you. You can save them for a limited period of time (day, week, month) and then have the documents filed.

Capture

Capture the information from the documents. Physical papers are scanned to electronic files, typically to a PDF (portable document file).  Emails and electronic documents are also converted to PDFs.  I find it helpful to go through and scan/create PDFs in small batches before filing. Letting the pile get too large can get overwhelming. This can also cause confusion if there are documents that need to be retrieved, but have not yet been filed properly.

How to Capture Documents
You can capture documents in many different ways.  A mobile device or a document scanner work well for this.

Document scanners work great for processing larger quantities of documents, and converting them to PDF files and searchable PDF files. Consider a scanner that can handle many documents at one time, and has the capability to capture both sides of a two-sided document. Neat and ScanSnap are couple tools that work great for this.  You can also outsource your scanning if you have a large number of documents and are short on time. Using a multi-function printer-copier-scanner can prove to be frustratingly slow, as it may allow only one side of a document to be scanned at a time.

From your phone or tablet, you can capture business cards, receipts, track mileage, and have documents signed on-site. There are also apps that can scan a business card and add the information right to your contacts and connect you on LinkedIn. I discuss a few of these resources below.

CamCard is great for capturing, saving and exchanging business cards

Evernote is great for managing all types of digital papers

MileBug mileage tracker app uses phone GPS and can export mileage to Excel

Expensify captures receipts and forms expense reports

Shoeboxed captures and manages receipts and mileage

Quickbooks is a full service accounting software that can invoice, track receipts, manage payroll and prepare financial reports

DocuSign and HelloSign allow you to receive full legal signatures from your mobile device and send them to email or your cloud-based storage

File

To effectively create useable file system, the file structure and naming convention of each file needs to be consistent and easy to follow.  Create a file structure and naming convention that makes sense to you.

File Structure

You will create an electronic file folder structure similar to a physical file cabinet. Think about how you will search for the file when you need to reference the document. Keep the file structure simple. Don’t have too many layers of folders that could over complicate things, or be too challenging to use. You will want to keep the file folders simple and shallow. For example, Insurance folder can store home owner’s insurance and automobile insurance.  The way you name the file will expose more details to the content of the documents.

File Naming Convention

Create a consistent file naming convention (how you label your files) that is easy to follow, and coordinates with how you would look for the file.  If you work with a team, have the team decide together on the best naming convention. That way it makes sense to everyone and everyone is willing to use the consistent naming convention.

It is good to include the date, subject or file folder title, client name, client code or number, and other words to help you recognize the contents of the document.  I like to start with the date so the files are nicely organized by date first. The subject or file folder name would come second. Remember, they will be placed in a folder that contains the main subject.

For example, in a “Contractor” folder you might have a file titled like:

04012019 Contractor Top Shelf Invoice.pdf “.  This could be your April invoice from Top Shelf Home organizing that you received on April 12, 2019.

In your “Insurance” folder you might have a file titled similarly to:

01012019 Insurance Automobile Jan thru April.pdf” This could be your automobile insurance for the first half of 2019 that was effective January 1, 2019.

Where to Store Files

There are a few places you can store your documents; the cloud, your computer, external hard drive and automatic backup service.  Select at least two locations such as your computer and the cloud, so when the inevitable happens your files are backed up.  Remember fires, floods and theft, and consider an off-site back up method.

Cloud storage examples include Dropbox, Evernote, and Google Drive.

Computer storage includes Windows folders, Finder on Mac OS.  There are also additional software products available for purchase that can streamline your files.

External hard drives are available for backing up your files. These drives are capable of storing very large files and lots of them for a reasonable price. You can also back your files up on simpler external ‘jump’ drives, which are more portable for storing backed up data offsite.

When implementing your file system, start with current documents. Get your system in place and bugs worked out. Once your system is up and running, begin to work through our backlog. It will go much quicker than you think.

Start your paperless journey with a plan. Jumping in without a good structure in place will lead to frustration and likely failure. The team at Top Shelf is happy to help you create your plan and guide you through the process.  Get in touch with Jayme when you are ready to take the next step.

Ideas for Organizing Kid’s Papers

Ideas for Organizing Kid’s Papers

If you have children in school: preschool to high school or anywhere in between, you know there is a tremendous amount of paper that comes into your house. Some papers require action, some are sentimental keepsakes, and others can make their way to the recycle bin. Here are some ideas on keeping track of all these papers before you become overwhelmed (or fixing the problem if you are already overwhelmed).

Paper Workflow

A system to deal with papers when they enter your home is the beginning of an organized paper management system. Upon entry into your home, papers need a place to go otherwise they will end up on your countertops, dining room table, desk or floor. 

Basic Inbox

An inbox of sorts works great. You can have a general family inbox or an inbox for each person. This is the most basic form of paper workflow. This inbox would be addressed frequently to avoid overflowing. 

Workflow System

You can take paperwork management to the next level by creating a paper workflow system.

Immediate Action File
This system has an immediate action file for parents. Which is the location where papers requiring immediate action are placed. That way when your kid is shoving a field trip permission slip in your face, while you’re in the middle of making dinner or on a phone call, he will instead know where to put it for you to address it when you are ready. 

Holding Zone
The paper workflow system also has a holding zone for each person.  So each person can initially manage their own papers. This can hold homework that is due later in the week: notes from friends, invitations, artwork and completed homework. To manage the paperwork, let it pile up in the holding zone all week. As part of the workflow, establish a time each week that you and your family can go through the papers. During this time, you can review their work (artwork, graded homework, homework to be done, etc.) and decide what papers go to storage, need further attention or can be recycled. Your child may identify what papers they are ready to recycle after you see them.

The paper workflow system also has a holding zone for each person.  So each person can initially manage their own papers. This can hold homework that is due later in the week: notes from friends, invitations, artwork and completed homework. To manage the paperwork, let it pile up in the holding zone all week. As part of the workflow, establish a time each week that you and your family can go through the papers. During this time, you can review their work (artwork, graded homework, homework to be done, etc.) and decide what papers go to storage, need further attention or can be recycled. Your child may identify what papers they are ready to recycle after you see them.

The papers that are going to storage, should be filed or stored soon after you go through the papers to prevent overwhelm. Papers for recycle go right to the recycle bin.

To-Do File
Have a personal To-Do file for papers that need to be addressed or dealt with. Set aside time each week to work through the To-Do file.

Storage

File Container

Create a file bin for each child. Have one folder (or two) for holding a nice representation of the work they completed each school year. Some great items to keep are: nice samples of their homework, quality art projects, certificates of participation, awards, and a few photos to represent their age.

I like the clear plastic bins from Iris and legal size accordion file folders from Smead. The legal size folders allow for storage of artwork and projects that are a little larger than the standard 8 ½ x 11. Avery file folder labels allow you to add a fun personal touch to the file bins.  You can handwrite the labels or use your computer to create graphically designed labels. Iheartorganzing has some great pintables to make your file folders look great.  Be sure to label each bin with the person’s name and age or grade.

Digital Storage

Digital storage is a great storage option for both children and adults. Digital storage is great for less physical papers when storage space is limited or not desired. By scanning your children’s work, you have the option of creating a custom photo or art book for their work. These books are great for kids that like to look back at their work and memories. Older kids can help create the books to add a personalized touch.   

Organizing kid’s papers is an ongoing job, but remember to keep it simple and have fun. Staying on top of their papers will reduce your stress, allow you keep what is meaningful, and address or recycle the rest.

If you want help getting started on filing your children’s paperwork, an organizer can help.  See if Top Shelf Home Organizing can help you on your journey.  Contact Jayme to schedule a consult or chat about organizing.