by Jayme | Sep 21, 2022 | Digital, Organizing
 When planning to organize an entire home, keepsakes and photos are typically the last category. These items are the most sentimental and slowest to organize. Photos in particular take time as they bring back memories of life’s most cherished moments. To make photo organizing manageable, break the project down into basic organizing steps.
1. Gather
Gather all photos together into a work area that can be dedicated to photo organizing for a long period of time. For digital photos, keep a notebook record of all the devices, websites, disks, drives, and apps you have photos stored to. Digital photos will be gathered in the organizing step.
2. Sort
Sort photos by date. When dealing with a large quantity of photos, you may want to sort by decade to start. Each decade can then be sorted further into years and then months. If you prefer to keep photos organized by events or holidays, you will still want to keep them chronological, but consider adding extra labels to the organizing to flag these events. For digital photos this should be relatively easy as they can be sorted by the date the photo was taken or stored.
The challenge of sorting digital photos is the multiple locations they are stored. Refer to your notes on where you have photos stored and sort photos one location at a time. Physical photos will take some time. Have some photo boxes, shoe boxes, or small bins on hand for sorting.
3. Purge
Choosing which photos to purge will be challenging. Some people will keep just good photos that represent events. Most people will take time to closely look at each photo and may not want to reduce any. The easiest photos to get rid of are duplicate photos. You may also consider reducing photos that are poor quality or blurry. With digital photos, it is easy to take many photos of the same pose. Try your best to select one or two of the best photos to keep.
4. Organize
Organize photos in a way they can be viewed the easiest. For physical photos, they should be neatly organized chronologically with tabs to note dates (years and months) and events. Photo boxes or bins work well for physical organization.
Digital photos should be stored in a common place, chronologically. Consider cloud-based storage for a central location for all digital photos. Understand this will take time to move files from all locations into a central location. You may also consider digitizing your physical photos and storing with the digital photos. Back up your photos to an external hard drive or other non-cloud-based storage method.
Break the Project Down
Organizing photos is not a weekend organizing project. It is a process that will take months or years to complete. Breaking the project down into small pieces will make it easier and more enjoyable. Keep your eye on the goal of having all your photos organized, easy to retrieve, and easy to share with others.
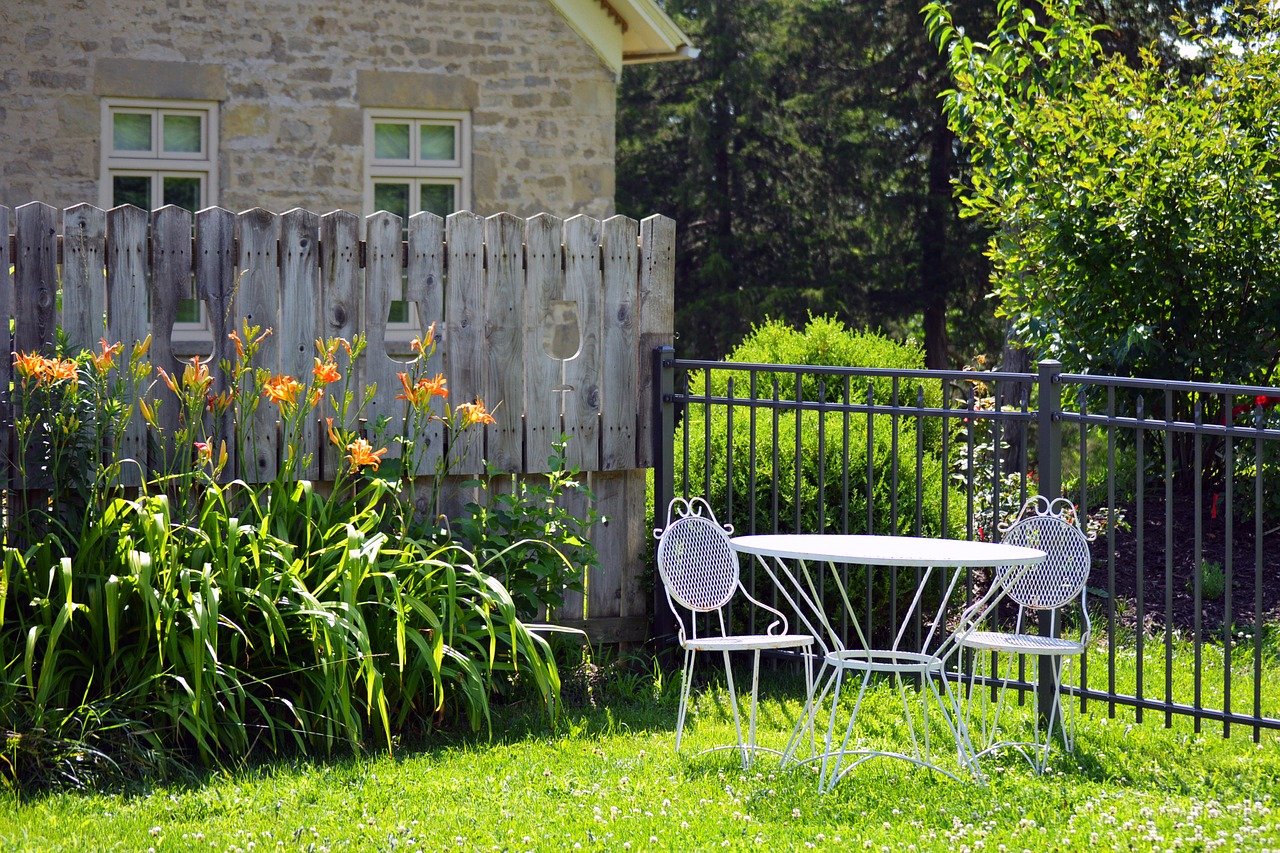
by Jayme | Apr 13, 2022 | Selling Your Home
 The most valuable advice when asked, “how do I best prepare to sell my house?” is clear the clutter. As straight forward as this sounds initially, there are many moving parts and emotions to properly decluttering and getting organized. Talk with your realtor and home stager about what items to keep in your home for selling. Think of this as a business process instead of a personal process.
You want your home to look its best for the best buyer. Staging your home will require you to remove many of your personal items. This is where you should spend your valuable time getting organized and purging the items you don’t want, love, or need.
Decisions will need to be made to prepare a home to sell. Focusing on getting organized to sell your home will in turn make the move and unpacking process more efficient. There will be items you keep in your home for staging, items that get packed and stored for the move, and many items that you will not keep (aka purged). Some of these decisions will be easy and many will be hard.
Easy Decisions
There are items that will be easy to decide not to move with you. These items include expired food, receipts and paperwork that you no longer need for tax or moving purposes, broken electronics, appliances and games, old toiletries and makeup, broken and no longer used toys, craft supplies from a prior hobby, worn, stained and old towels and linens, old paint, wood and building materials, and clothing you haven’t worn in the past year. Anything that has mold or water damage from storage in a basement, garage, or attic should also be tossed.
Middle Decisions
Much of your household stuff will fall in the middle zone. Ask yourself if you really want these items and can visualize them in your new home. These items include clothing, paperwork, kitchen items, linens, furniture, and toys. As you sort through, think about if you truly need or love the items. Also consider if you have used them in the past year. As you go though, organize the items you are using into categories so they can be easily packed and unpacked. You will want to clearly label all boxes and bins with details of the contents and location of your home they belong.
Hard Decisions
Moving time is a great time to tackle some of the tough decisions you avoided for years. These items may include family mementos, knickknack collections, holiday decorations, old dresses, past hobbies, costly items that you don’t use or don’t work. These items can be reconsidered and possibly don’t have a place in your new home. Making the decisions on these items now will save you stress and energy in your new place.
Getting organized to sell your home has many benefits including decluttering your home for staging, reducing the number of items you have to move, and streamlining unpacking in your new home. Write down your goals, have a plan, get help, and stay focused when preparing to move. Your new, organized home will bring new adventures and new memories.
We Can Help!
Top Shelf Home Organizing loves to help busy families to get ready to move. We would love to chat with you about how we can get your home ready to sell. Let’s plan an organized move. Give Jayme a call.
by Jayme | Mar 8, 2022 | Cleaning, Organizing
 These quick organizing tips will get you and your house ready for the first warm spring day. Block your calendar this month to prepare your home for spring. Take it one task at a time and soon you’ll be ready for your first backyard barbecue.
1. Winter Décor
Let spring in your home by packing away your winter décor. Add some fresh flowers and bright colored pillows to your home.
2. Patio Furniture
Take patio furniture out of storage and give it a good wash down.
3. Entry Doors
Wash down the inside and outside of all entry doors and storm doors. Remove dust and webs from entryways. The sun will shine nicely through the fresh glass.
4. Coat Closet
Organize your coat closet by removing any coats not worn in the past year, laundering the coats, and hanging them the same way.
5. Back Entryway
Remove all items from the back entryway. Wipe down the walls, the baseboards, and give the floor a good scrub. Pack away winter items and bring out the spring jackets, shoes, and umbrellas.
6. Winter Outerwear
Wash and dry or dry clean all winter outerwear before packing it away. Pack winter wear loosely in bins or hang garment bags on clean coats to keep them fresh for the next season.
7. Windows
Wash your windows inside and out. Wipe webs and dust from window frames, and vacuum dust from sills. The clean windows will brighten up your space on warm spring days.
8. Grill
Pull out your grill and give it a good cleaning. Scrub down the grates, degrease the base, and polish the stainless. Check the level in the propane tank so you are ready to grill some burgers.
9. Vehicle
A warm, dry day is a great time to clean the salt and dirt on the inside and outside of your car. It is such a good feeling to have a clean car on a warm spring day.
Top Shelf Home Organizing loves to help busy families transition to the new season. We would love to chat with you about creating a plan to get your home ready for spring. Give Jayme a call.
by Jayme | Feb 8, 2022 | Clutter, Cooking & Kitchen, Eating & Kitchen, Organizing
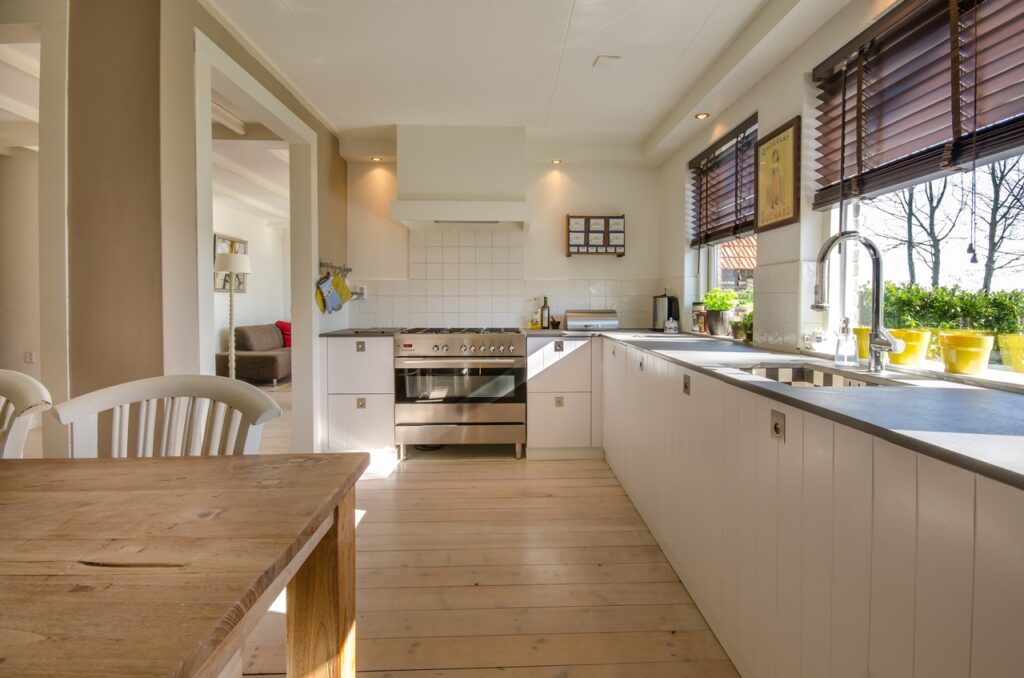 The new year is in full swing. Healthy eating and conscious kitchen choices are likely some of your new year’s goals. This month, we offer ideas on the 14 best areas to focus for decluttering and organizing your kitchen. Every day or two this month, declutter and organize your kitchen by breaking it down into small categories. You will feel a revised focus on your healthy eating goals.
1. Baking dishes
Gather, sort, and evaluate all your dishes intended for baking. Simplify your inventory to the most practical items. Replace items that have lost their non-stick finish, are starting to rust, are starting to warp, or are only used on rare occasions.
2. Seasonings and spices
Pull out all seasonings and spices. Purge those that are expired, lack aromatics, are hard, or will not be used. Inventory what you have in writing, and make a list of what you need to replenish.
3. Coffee mugs
Mugs can consume a large amount of real estate in a kitchen. Consider the number of people in your home that use mugs and how often they are used. Simplify the quantity of mugs to what is practical in your kitchen.
4. Water bottles
Water bottles also take up a lot of space in a kitchen. Limit the quantity of water bottles to the number of people in your house. Bottles that require handwashing, have difficult spouts, tend to leak, or are not popular should be purged.
5. Freezer
Dig deep, inventory your kitchen freezer and deep freezer. Purge items that are old, smelly and show freezer burn. Meal plan around the freezer food you keep to reduce inventory and save money.
6. Formal entertaining dishes
Realistically examine the formal dining and service dishes you need to have on hand. Keep a practical set for a typical gathering. Reconsider if you need specific dishes for a specific holiday.
7. Bar glasses
A general set of tumblers, wine glasses, and pint glasses work well for most cocktails. Ditch the narrowly defined glasses that take up room in your cabinet.
8. Glasses
Reduce your daily glassware to what you use in a day. Every souvenir glass you have collected during your life likely doesn’t fit in your kitchen. Stick to the drinking glasses that are practical for your household and lifestyle.
9. Storage containers
Storage containers have a history of reproducing while you are not looking, and then ditching their partnering lid or base. Gather all storage containers, match up sets, and remove the misfits. Storage containers also take up a large area in your kitchen, so it is important to keep them under control.
10. Specialty gadgets
Avocado slicers’ and pepper storage containers might be fun gift items. But these specific, specialty items that are rarely used take up a lot of space. Consider more multiuse gadgets that are practical and don’t use up your precious kitchen space.
11. Small appliances
So many appliances for so many creative kitchen uses are available. The ideas are unlimited. Small appliances can be economical and practical if they serve more than one purpose and are used more often than once per year.
12. Disposable dishes and flatware
Disposable dishes and flatware from takeout and past parties may be taking over a cabinet in your kitchen. Gather all these items and intentionally plan to use them up. The kids will love having their breakfast on some cute happy birthday plates.
13. Snacks
The pantry likely has a collection of opened bags of snacks and crackers, and an inventory of candy from the past holiday. Get all of the snacks and candy together. Purge those that are stale, old, and completely unhealthy. Use up any opened snacks for your next family movie night. Keep the candy on hand for special treats and rewards for good behavior (if you decided to keep any).
14. Condiments
Condiment packets from school lunches and take out may be filling a drawer in your kitchen. Reduce the amount of condiment packets. Gather them all together, throw out any old condiments, keep a small selection of condiments you would use, and donate all the extras to a food pantry.
Now it is time to get started!
Take this month to work through your kitchen and remove the stuff that doesn’t meet your needs and takes up your limited kitchen space. Take the project category by category. It will keep you focused and it doesn’t require a large block of time.
If organizing your kitchen is overwhelming, Top Shelf Home Organizing would love to help. Contact Jayme for more inspiration.
by Jayme | Jan 17, 2022 | Clutter, Organizing
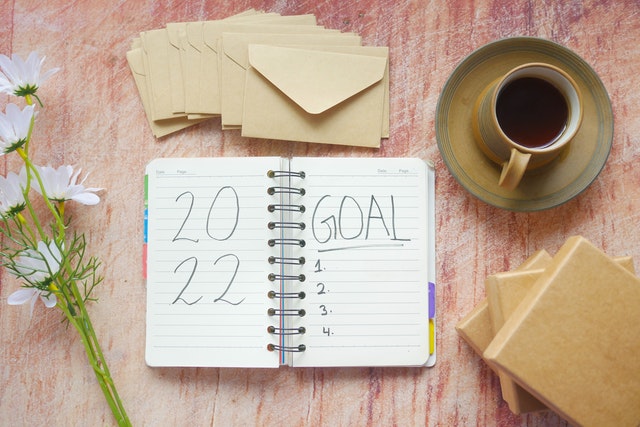
 The new year brings a desire to clear out the old, bring in the new, focus on goals, and be more productive. Making a clean sweep through your life and home will help you focus on all your new year goals and plans. Coming up on Top Shelf Home Organizing’s eight year of helping busy families, we created a list of impactful things you can declutter to have the best year yet.
1. Schedule
Take a real look at your busy schedule. Create a priority list of activities. Start with the time required to make money and care for your family. Then look at what makes you happy and healthy. Time wasters that do not fulfill the above can be seriously reconsidered. Your time is precious.
2. Email
Take some time to clean out your inbox. Create a list of action items from your email to tackle at another time in order to keep focused on clearing the emails. Unsubscribe to any email lists that you do not want to continue receiving. Consider a separate email account for retail promotions and other non-business email lists.
3. Holiday Decor
As you are packing away your seasonal décor, donate the items you did not use or did not enjoy this past season. This will make packing away décor and decorating next holiday much easier. More tips on Organizing Holiday Stuff here.
4. Pantry
Eating healthy in the new year means cleaning out the junk from the pantry. Clear out any food that is expired or doesn’t align with your healthy eating goals. Follow these Simple Steps to Pantry Organization here.
5. Food Containers
Has your stock of food storage containers expanded over the holidays? Clear out any mismatched lids and containers that do not match, return any containers to family and friends, donate the extras that you do not need. More ideas on Framework for Organized Kitchen here.
6. Clothes
Donate the clothes you did not wear in the past year. If you did not have the desire or reason to wear some of your clothes in the past year, chances are you won’t wear them this year. Find a good charity you want to support and donate your clothes. More on Wardrobe Decluttering from Conway Image Consulting here.
7. Personal Products
Clear out your personal products by discarding old, expired make up, lotion, perfume and soap. Get rid of products you do not use or are not the right fit for you. Unopened, unexpired items can be donated to a shelter or social services program. Learn more Fun Bathroom Organizing Tips here.
8. Toys
Any toys your kids did not play with in the last 12 months can be sold or donated. If they didn’t play with them in the last year, they likely will not play with them this year.
Get Started!
This list is enough to get you off to a great start this year. Decluttering is a process. It cannot be done in one hour or one day. Start with areas with the biggest impact and start the snowball rolling. After years of working with busy families, we know areas to focus on.
When organizing and decluttering overwhelms you, we are happy to help. Reach out to Jayme at Top Shelf Home Organizing to get you started on the right track

 When planning to organize an entire home, keepsakes and photos are typically the last category. These items are the most sentimental and slowest to organize. Photos in particular take time as they bring back memories of life’s most cherished moments. To make photo organizing manageable, break the project down into basic organizing steps.