
Get Your Home Ready for Fall: 7 Key Areas to Organize Now

Organizing your home can be a great way to prepare for the upcoming fall and winter months. Here are seven important areas to focus on:

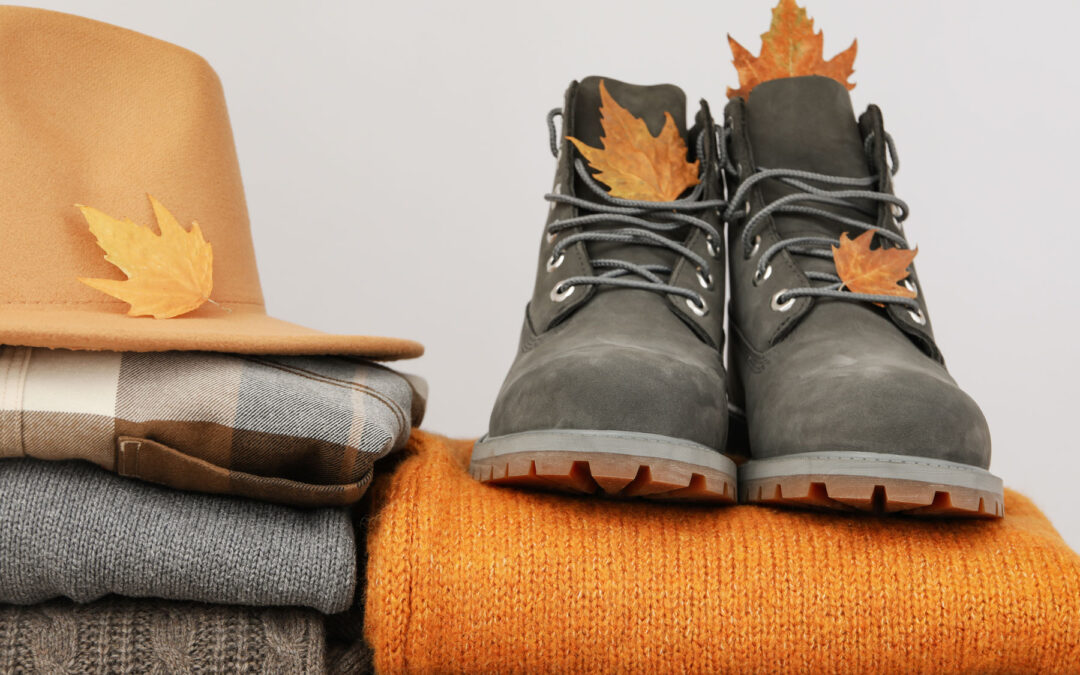
Seasonal Clothing:
Swap out your summer wardrobe for fall and winter clothes. Store away summer items and bring out warmer clothing, including jackets, sweaters, and boots. Donate or sell items that don’t fit, appear worn or no long fit your style.

Pantry and Kitchen:
Check your pantry for expired items. Meal plan around items that need to be used. If needed, restock with essentials for fall cooking, such as spices, baking ingredients, and canned goods. Organize your kitchen to make meal preparation easier as the holiday season approaches.
Outdoor Spaces
Prepare your garden and outdoor spaces for the colder months. Clean up the yard, store away summer furniture, and consider planting fall flowers or vegetables.

Heating Systems:
Ensure your heating systems, such as furnaces and fireplaces, are in good working order. Schedule maintenance if necessary and stock up on firewood if you have a wood-burning fireplace.

School and Work Supplies:
Now that everyone is back to their school and work routines, take some time to reassess work spaces and supplies. Adjust the areas as needed.
Holiday Preparations
Start planning for upcoming holidays. This could include organizing decorations, making gift lists, or starting to think about travel plans.

Decluttering:
Take the time to declutter your home. Go through each room and get rid of items you no longer need or use. Donate, sell, or recycle these items to free up space and reduce clutter.
Focusing on these areas can help ensure a smooth transition into the fall season and holiday.
Simple. Life. Solutions.
We would love to put our talents to use making your home and office functional and organized. Let us know how we can help your space be the best it can be.