by Jayme | Dec 15, 2021 | Clutter, Managing Time
By: Jena Ehlers, The Wellness Resolution
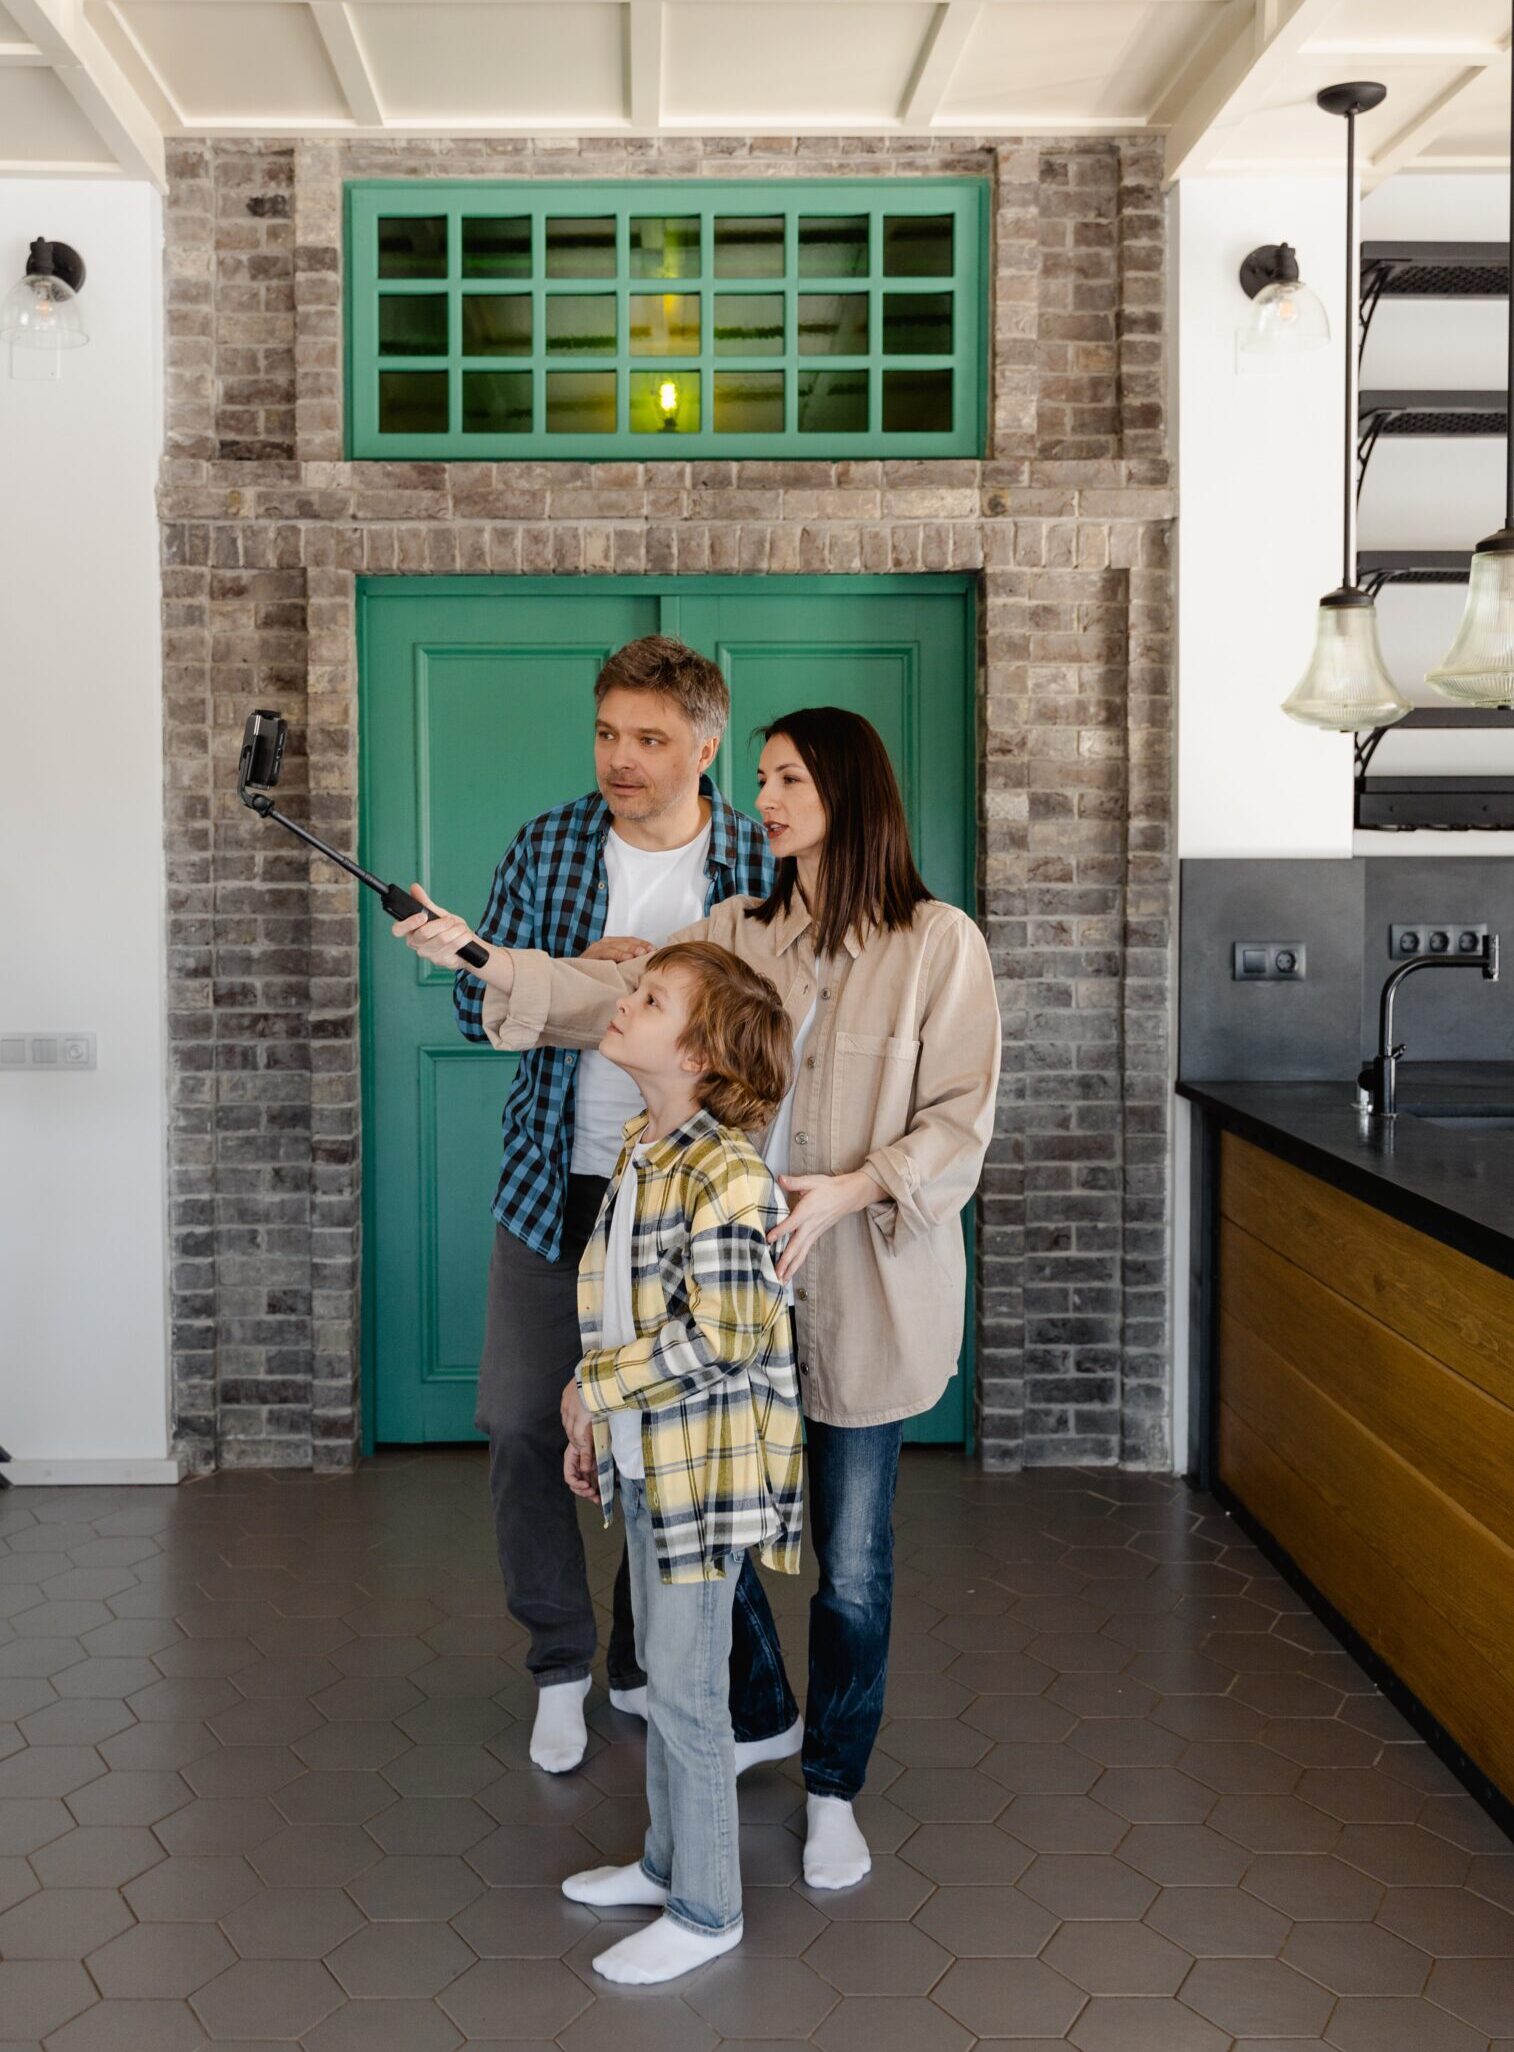
 Disorganization and clutter can affect you both mentally and physically. Having lots of clutter and being disorganized creates more stress in our lives. It can cause anxiety. Too much clutter can also cause troubles sleeping, poor eating choices, or even make it hard to dust causing allergies.
How an Unorganized Space Creates Anxiety
After an exhausting day, it can be hard to relax when you see piles of papers, piles of boxes, surfaces cluttered with junk, clothing piled up, etc. You might not consciously feel anxious when you see the clutter, but you could be feeling it subconsciously. Just think about how you feel after you have cleaned your kitchen and everything is neatly put away. There is a sense of calm when you start cooking and nothing gets in your way.
I have noticed when I make sure to clear all the clutter on my coffee tables, end tables, fold blankets, and place all the pillows neatly on my couch before bed, I feel this sense of calm when I see my living room space in the morning. When I don’t my mood is less uplifting.
Harms Your Productivity and Focus
It can be harder to concentrate on one project at a time if you are not organized. Not only with not being organized with your work priorities, but just seeing clutter around you can be a distraction and make it harder to focus and remember things.
Sabotages Your Time
When you are in a rush to make a meal, find the perfect outfit for the day, and get out the door in the morning, being organized is a huge time saver! Just the thought that you might be late for work or another activity can create some anxious feelings. Being organized will help you make more efficient plans and save you time.
Anxiety from Items that Don’t Fit Your Space or Lifestyle
Items that don’t fit with the style of your living room, clash with the color palette you are trying to achieve, take up too much space, or remind you of a person you used to be, should be decluttered. These items can make you feel less happy, and your home should be a place that best represents you. The current you, not the past you. These items can also create unnecessary anxiety, and your home should be the place where you feel the most comfortable.
Items that Bring Bad Memories
Clutter could bring up bad memories either on a conscious or subconscious level. Maybe you have an item in your house that reminds you of a difficult time in your life, an item a friend gave you that you no longer speak to, or just an item that represents a former you. Seeing that item regularly could cause sadness, anger, or anxiety. So make sure to declutter items that no longer bring you any happiness, even if they are really unique or expensive.
At Top Shelf Home Organizing, we love to help busy households get organized. If you are looking for guidance on getting your home organized, reach out to Jayme.
by Jayme | Nov 1, 2021 | Busyness, Clutter, Organizing
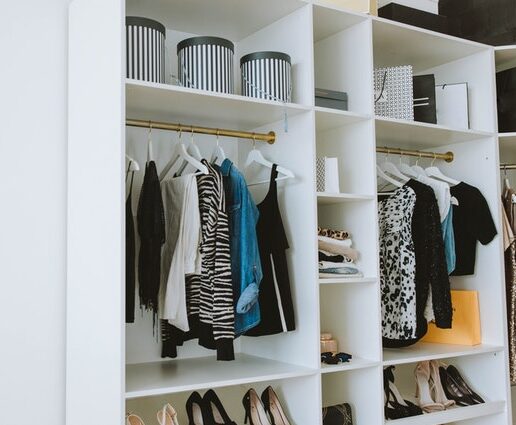
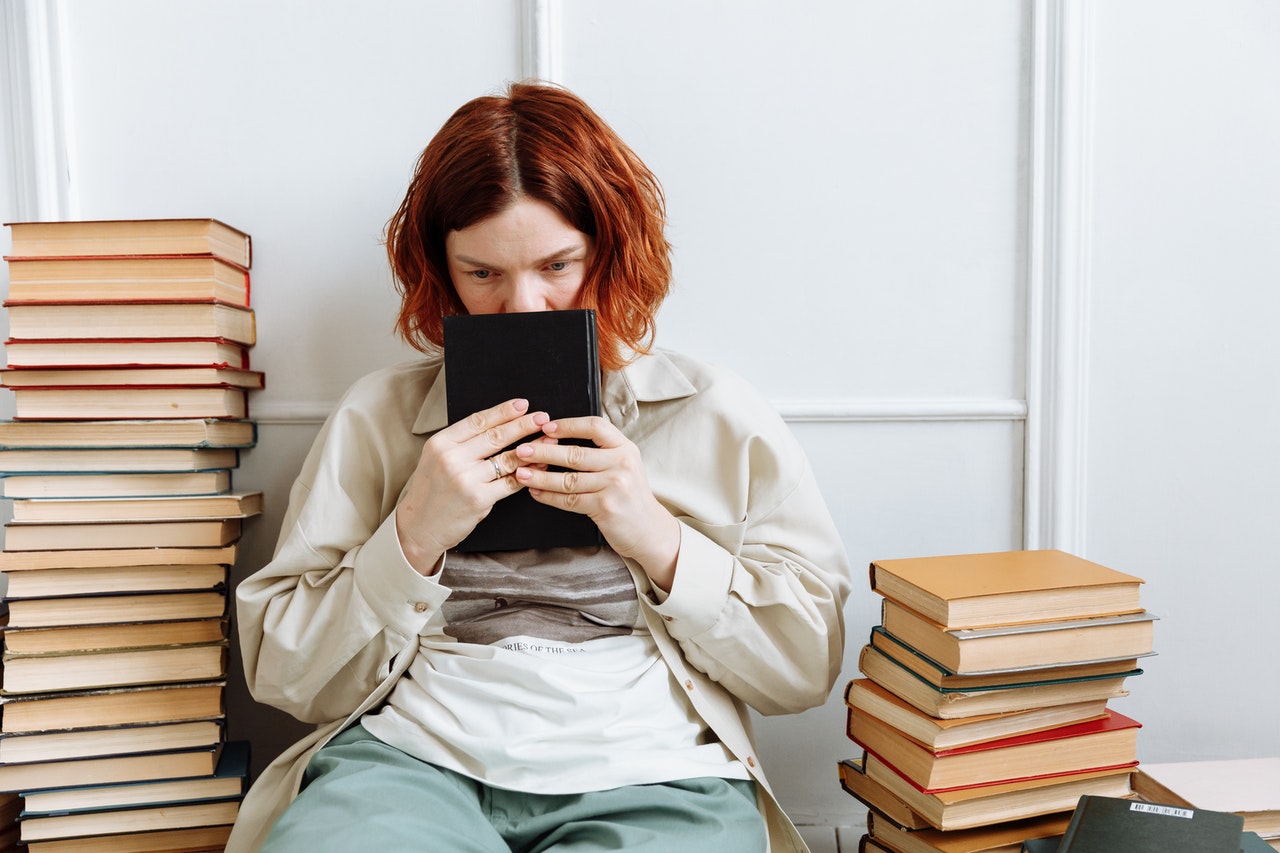
 Decluttering is one of the first steps to an organized home. The emotions that emerge when sifting through items in your home can overtake your motivation to declutter. We all experience emotions when working through items acquired through our life experiences. Hope, fear, guilt and emotional attachment may prevent us from decluttering our homes. Identifying, understanding, and overcoming these emotions will help you create the peaceful home you desire.
Here are some key areas to consider to help overcome these strong emotions.
Setting Small Goals
Have you started to declutter in the past, but the project was too overwhelming? When emotions arise, cutting the clutter can be nearly impossible to tackle. Breaking the process down in steps or a method can make the project manageable and reduce overwhelm. Instead of telling yourself you are going to organize the basement this weekend, set the goal of gathering one category of items. Getting all items together is a task that is clearly defined and does not bring on the overwhelm of the entire organizing process.
Gathering tools, pants, or pots and pans feels much more manageable than getting an entire room organized in one weekend. Once a category is gathered, set the next goal of sorting the category. Dividing the items into: need/love, don’t need/dislike, and might use/its okay categories is a task that can be completed in a reasonable time. Breaking down the individual tasks in an organizing project will help reduce overwhelm.
Letting Go
The things in our home and life arrived because of a life event. Revisiting these items may bring back memories. A college backpack, an engraved pen set, wedding dress, handwritten notes and cards, artwork, sporting goods, or tools and crafts were acquired at a time of life when there was an accomplishment, celebration, or a life change. It was a big time in your life. An array of emotions may surface when approaching these things making you feel the need to keep the items. Understand these items are not who you are. Your life experiences have shaped who you are today, not the stuff. Letting go of items will not change who you are, what you have experienced, or what you have accomplished.
Fear
The emotion of fear prevents us from decluttering our homes. We keep items because they offer a sense of security. Fear may exist because you feel you may not have the resources someday to purchase the items or the items may not be available.
The first step in overcoming this fear is understanding if you will even need or use the item someday. You may be hanging on to hobby items you will not have the time or physical ability to use again, but fear if you get rid of them, you may not have the resources to purchase them again. You may have a pantry full of expired food because you fear you may not have the resources someday to buy food. You may fear you will hurt someone if you donate the wedding gift they gave you. Understanding why you are afraid of purging the things in your home can help you overcome the fear and be realistic about what you keep in your home.
Would You Buy It Today?
Ask yourself if you would buy the item today. This question is great when you are decluttering household items, personal care items, and clothing. If you were to make a decision on whether to purchase a particular item right now, would you? Would you purchase that kitchen gadget, lipstick, or clothing item you have in your closet today? You may have truly enjoyed the item at one time. Maybe you believed the item would make you more efficient in the kitchen. If your answer to this question today is anything but “yes,” the items do not have a place in your home.
At Top Shelf Home Organizing, we love to help busy households get organized. If you are looking for guidance on getting your home organized, reach out to Jayme.
by Jayme | Sep 27, 2021 | Organizing, Wardrobe
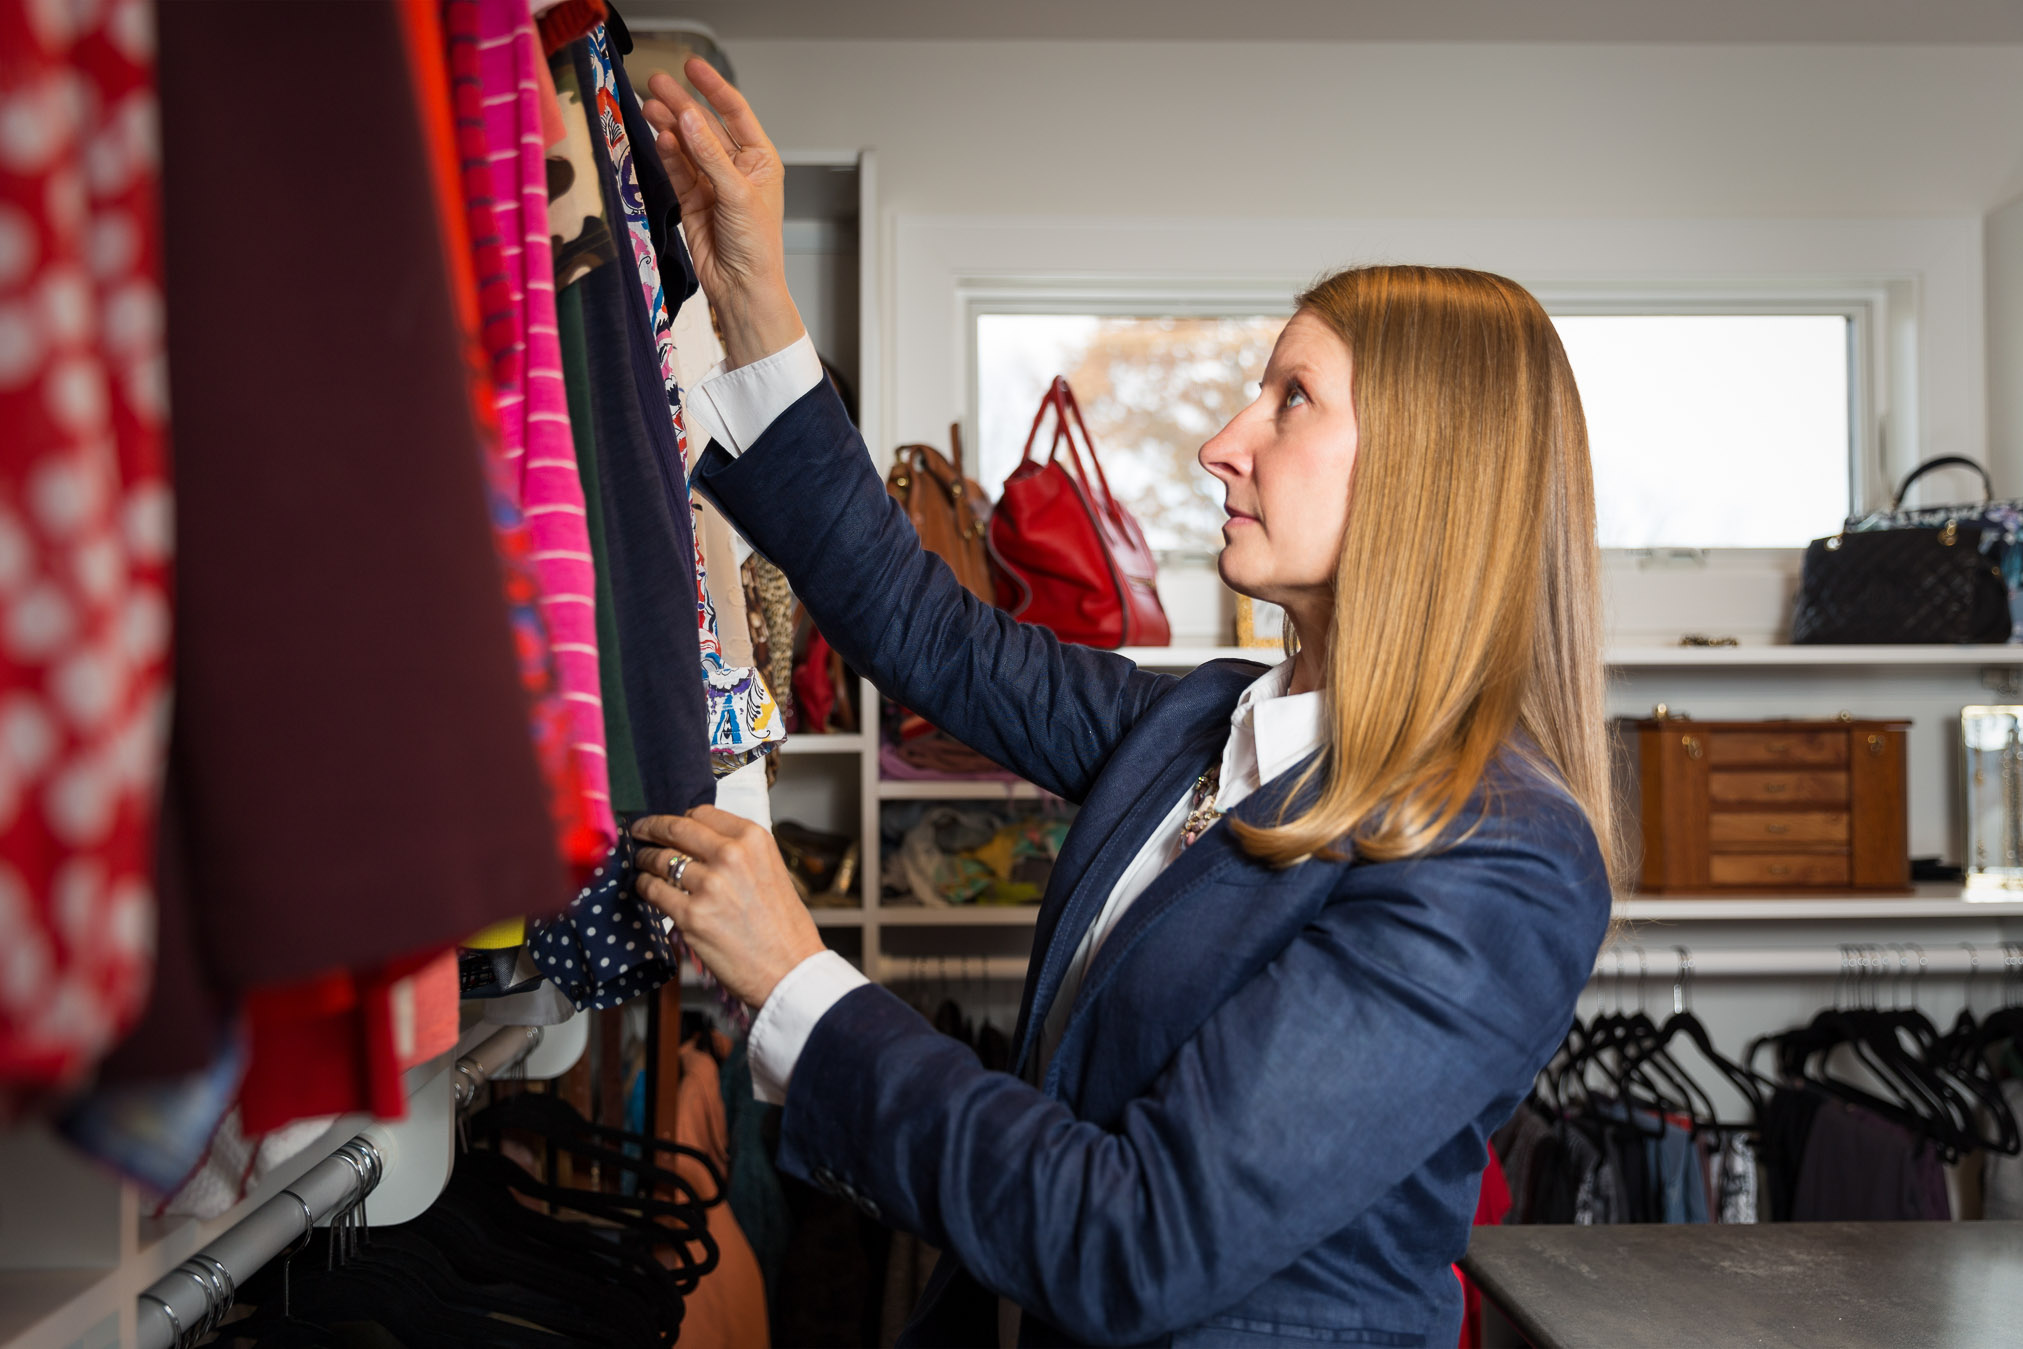
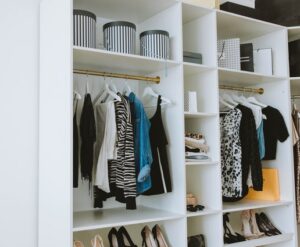 The season change is a great time to assess and change out your wardrobe. Here are three categories the experts use to make this event as fun and simple as possible.
Existing Season
Filter through your wardrobe for the current season before packing it away or moving it to the back of your closet. Pull all clothing items out and group them by categories. While going through each item, decide if you enjoyed the item this past season or did not. There will be items you simply did not wear or did not enjoy wearing. Those can be donated. Clearing out items that no longer fit, you don’t like, or are worn out will make wardrobe changing now and the next season much easier.
Wardrobe Staples
Your wardrobe has items that transfer to multiple seasons. You will want to pull all these items out and sort them by category. Remove items that do not serve you anymore and pass them on. Take note of any staples that need to be replaced. Undergarments, socks, athletic wear, shoes, and jeans all fall into this area. Seasonal wardrobe changing is a good time to go through and organize your clothing staples.
New Season
Bringing out the clothing for the next season should feel fun and exciting. You may have stored these items in the basement, extra closet, or the back of your closet. These items should also be sorted by category. If there are any items you did not wear or did not want to wear the last time they were in your closet, donate them. Some clothing items might need to be tried on to ensure a good fit and a fabulous feeling when you wear them. Take note of any items that will need to be replaced.
Last Steps
Once all three categories have been sorted, organized, and purged, they can be combined into your closet and drawers. Off-season items can be laundered and neatly packed away. All items that are put back into your wardrobe should be items that fit well, make you feel fabulous, and provide good function.
When shopping for new items use your notes on items that need to be replaced to ensure you stay within your budget and have good focus. Your closet will have a fresh feel and coordinating your daily outfit will be fun and painless.
If changing out your wardrobe brings stress, we would love to help. Check us out at topshelfhomeorganizing.com or call Jayme at 262-373-9416.
by Jayme | Aug 23, 2021 | Cooking & Kitchen, Organizing
An organized kitchen is our hopes and dreams for preparing meals efficiently. Setting up the framework of your kitchen can help you be the best chef or short order cook you can be. Here are some tips from the organizing experts.
 Kitchen Items Only
Your kitchen is prime real estate when it comes to your home. You need to protect the boundaries and only allow kitchen items in the kitchen. The drawers labeled, “office,” “toolbox,” “junk,” or “crafts” can serve a new purpose in your kitchen. Place those items in their respective areas of your home; the office, the workshop/basement/garage, the trash or the craft room. This extra space will be a functional space in your kitchen.
Location
Where your items are located will determine how quickly and efficiently you can move around your kitchen. Everyday plates, glasses and flatware located near the sink or dishwasher will make putting dishes away streamlined. Occasional dishes and glasses can be located on the perimeter. Items that are only used annually or for very special occasions can be placed in a storage area in the basement or garage if space in your kitchen is limited. Small appliances that don’t get used can be donated. Those items take up a lot of room.
Pantry
Whether your kitchen has an official pantry or not, keep food items together versus spread around your kitchen. It will help you keep an accurate inventory of what food you have. Stashing food randomly throughout your cabinets will cause you to lose track of what you have. Identify an area of your kitchen where you will keep food.
Minimize
Minimize the items you have in your kitchen. Duplicates of utensils, cookware, storage containers and small appliances will cause overcrowding in the limited space. Identify the most practical items and place the extras into storage or remove them from your inventory.
There is no doubt a kitchen is one of the most challenging spaces in a home to organize. Establishing a framework for your kitchen and keeping only kitchen items in the kitchen will help maximize your kitchen’s potential. It will also help you be as efficient as you can be. If creating an organized kitchen is overwhelming to you, Top Shelf Home Organizing can help. Contact Jayme to see how Top Shelf Home Organizing can help you.
by Jayme | Jul 21, 2021 | Clutter, Organizing, Saving Time
 For many of us, getting organized is manageable but maintaining the organization is a challenge. Whether you spend your weekend binge organizing or outsource your organizing projects to a professional, the organization systems need to be maintained. As a busy mom of four, dog mom of two pooches, wife, and business owner, I want to share my 10 favorite personal tidy tips that help me keep sane when the day is hectic.
- Make Your Bed
Make your bed right when you crawl out.
- Put Your Stuff Away, Right Away
Remember how it takes time and resources to get organized? Now you need to put your things away to keep your home organized.
- Make the Rounds
Make the rounds through your house to collect and put away miscellaneous items daily or twice daily.
- Run the Dishwasher
Empty the dishwasher first thing in the morning. This will start your day with a clean slate in the kitchen. Load the dishwasher throughout the day with soiled dishes. Run the dishwasher nightly. Repeat this process every day to prevent a dirty dish pile-up.
- Clean-Up as You Go
Wipe the countertops after each meal. Wipe the bathroom counter and faucet after you brush your teeth. Squidgy the shower walls and door after a shower. Wipe spills and splatters as they happen.
- Have a Schedule
Have a day scheduled for larger tasks, even if you cannot dedicate a full day to these tasks. Focusing time on just one task will get it done more efficiently than juggling all the tasks unsuccessfully at one time.
-
- Grocery day
- Meal prep day
- Laundry day
- Cleaning day
- Additionally, use a deep clean schedule to help rotate through deep cleaning areas of your home. Schedule one area per week.
- Think Tidy When You Walk Through the Door
-
- Leave your shoes at the door
- Put your bag on its hook
- Keys go where they belong
- Leave Nothing on the Floor
-
- Keep toys, papers, blankets, and dirty clothes off the floor
- Hang up clothes you will re-wear right away
- Place dirty clothes go into the hamper
- Towels get hung on the hook
- Toys get put away when not being used
- Take Out the Trash
Take out the trash when you leave the house for the day. This will keep odors out of your house while you are gone. It will also feel good to see an empty garbage can when you get home from a busy day. Don’t forget garbage collection day. All trash and recycling need to go out on trash day.
- Deal with Mail Daily
Collect, sort, purge, and file mail daily. Removing the junk mail daily will make your mail opening day more manageable. File important mail in one location so it is gathered together and ready when you need to open it. Open the mail when you are ready to address, pay, and file it.
Establishing and maintaining a routine will help your home stay tidy. At Top Shelf Home Organizing, we love to help busy households get organized. If you are looking for guidance on getting your home or office organized, reach out to Jayme.
by Jayme | May 26, 2021 | Clutter, Organizing, Productivity
 Welcome to Top Shelf Home Organizing. Are you ready to feel the freedom of an organized home and office? You deserve to have a home and office that is as organized and productive as it can be. You are busy, we understand. We are here to help you achieve, what you dream your space can be. It is time to stop sifting through the clutter to find what you need.
We can’t wait to work with you!
Professional organizing may be brand new to you. So we are sharing what the journey of hiring a professional organizer looks like. At Top Shelf Home Organizing, we take the time to get to know you, your space, your schedule, your lifestyle, and your personality before coming into your home or office. Our goals are to teach you simple solutions for your home, office, and life.
Here are the six steps to expect during your experience with Top Shelf Home Organizing.
Intake form
The form will be emailed to you shortly after your initial contact with us. It is designed to give you a chance to think about your true organizing goals and challenges are. The intake form is a preliminary understanding of the extent of your organizing needs and the people involved. Once this form is complete and returned, we will set up a phone call.
Phone Call
A 30-minute casual phone call will further identify your organizing goals and help us to get to know each other. This call will determine the extent of your organizing project, materials that may be needed, the timeframe of the project, and the number of organizers needed to complete. We will go through the intake form in depth.
On-Site Consultation
An on-site consultation will give us the whole picture of your space and allow us to meet one-on-one with each other. On-site we will finetune the project scope and goals while getting familiar with your space. We will take measurements and photographs, and create a list of materials if products are required. The on-site consultation lets us understand what is behind the scenes to better address your goals.
On-Site Organizing Sessions
The on-site organizing sessions are where the physical work takes place. The five basic steps of organizing will happen. Some people like to work side-by-side with us. Others may prefer to direct us on what to do and remain hands-off. Many people choose to be available for questions and occasional decision-making but continue to go about their daily lives and work. Often, once a relationship is established, the organizers work independently in this phase.
The steps to organizing a project of any size include:
- Gather – All items are removed from current storage.
- Sort – Items are sorted by category.
- Purge – Items no longer wanted, needed, and liked are donated, disposed and recycled.
- Organize – Items are organized into systems that fit and work for you.
- Label – All items are clearly labeled for ease of locating and returning to storage.
Homework
There may be tasks you prefer to complete on your own, independent of help from the organizers. Some choose to do this to make the project more economical. Other times, people want to go through items that are more personal on their own or with their family. We create a detailed, but a simple list of items that you can complete on your own, in between sessions with the organizer.
Follow-Up
We love to know how the new organization is working for you. We will touch base within a few days of the on-site session to discuss how the organization is going. This time is designed for you to give feedback and ask any questions you may have. We will also check in on any homework you may be working on. This is a great time to schedule future sessions to keep you meeting your goals and maintain what has been organized.
Top Shelf Home Organizing Policies
On-site consultations are $50. Reservation fees are $50. Both fees are credited to your service. Payment is due in full at the end of each on-site organizing session.
A cancellation fee of $50 applies to all cancellations and reschedules with less than 24-hour notice.
Refer someone to Top Shelf Home Organizing and receive 10% back in organizing services. Credits are earned for the first six months of services after referral. Credits are redeemed at a $75 per hour rate.
Top Shelf Home Organizing, LLC
Simple. Life. Solutions.
Jayme Radomski, Owner
262-373-9416
Jayme@topshelfhomeorganizing.com
topshelfhomeorganizing.com
facebook.com/topshelfhomeorganizing youtube.com/channel/topshelfhomeorganizing pinterest.com/TopShelfHomeOrg
instagram.com/jaymeradomski
linkedin.com/in/jaymeradomski
by Jayme | Mar 16, 2021 | Clutter, Organizing
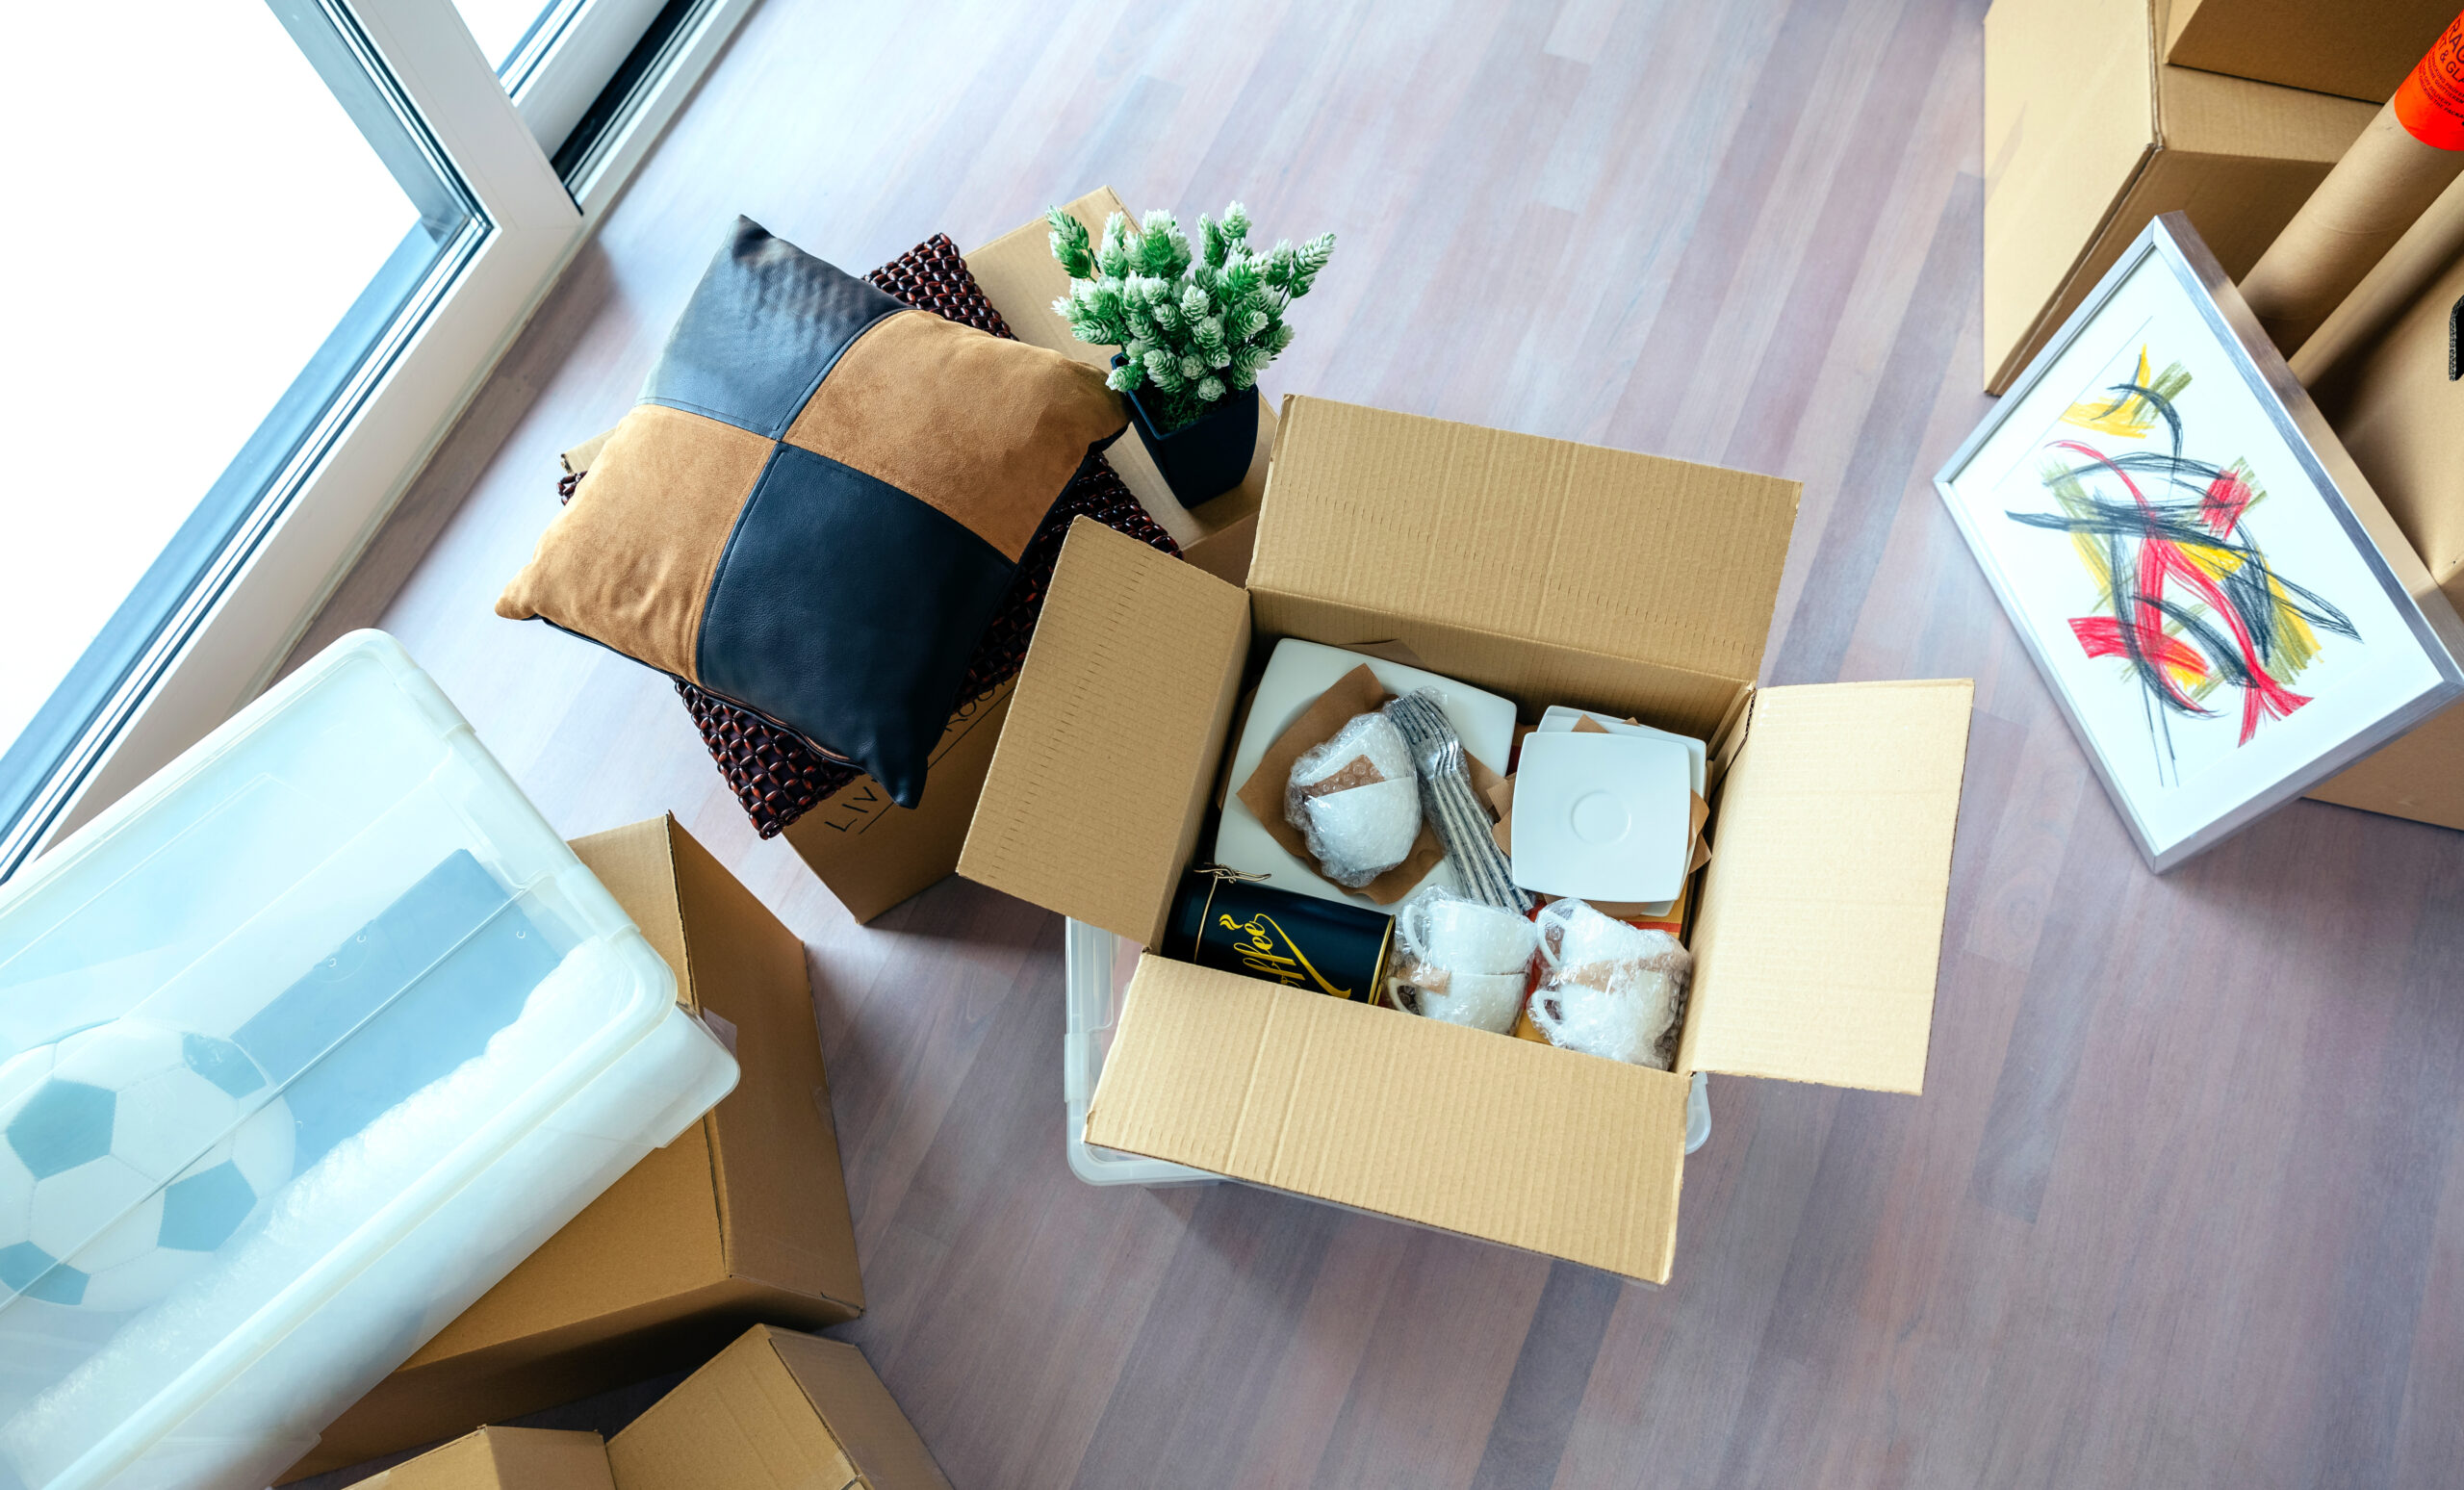
Getting your home back in order after a year-long pandemic is no light task. All items in your home will be identified as purge, store, or put away. Work your way through your home with a plan. Follow the system of gather, sort, purge, organize and label for each area of your home.
Here are some ideas to help make this daunting task more manageable.
 1. Start with Storage
Start with your storage areas such as the basement, attic, and garage. Understanding what you have in storage can help determine where to store your items as you work your way through your home. This is also a good time to clear out the items that you no longer need or use. Break this project down into categories of items or areas of storage. Thoroughly go through each item and group it into topics.
2. Infrequently Used Spaces
The next area to tackle would be an area of your home that you do not use every day or will not impact your family’s day-to-day operations. These areas may include guest bedrooms, hall closets, recreation rooms, and the office. Break these areas down into very small, manageable projects. This may require organizing one small drawer or bin per day. Work through the area by area while staying focused. Since these areas are not used daily, it is OK to pause your organizing, close the door and resume tomorrow.
3. Everyday Spaces
The last areas to organize will be the areas you use every day such as the master bedroom, kitchen, and living room. These areas should be relatively easy as you have established what you have in storage and organized items that are not used daily. Rarely used items you will find in the areas you use every day and can be placed in the proper categories in storage. Remove items that you do not need or like (you have probably heard me say this many times). Clearing this clutter will help your home feel more functional and be more organized.
Create a Generous Schedule
Remember, organizing your home can be a daunting process after a year at home. Create a generous schedule working through your home as listed here. Stay focused, get help and allow yourself some grace. Life is getting back to normal and so will your home.
Top Shelf Home Organizing has helped dozens of households simplify, reduce, and get organized. If this process is overwhelming to you, we can help. Contact Jayme to see how Top Shelf Home Organizing can help you.
by Jayme | Feb 4, 2021 | Organizing, Travel
Being organized will make a family road trip an amazing and memorable experience. When everyone knows the route, schedule, activities, and food, the trip will go as smoothly as it can. Here are some ideas to help get organized for the family road trip.
 Map out the Route in Advance
Map out your route to help plan your trip. Understand where there may be traffic jams, construction, and road closures so you can plan for detours. Print your map, even if you are using GPS there may be areas without service. The kids might also enjoy a copy of the map to follow along. Plan for frequent stops to swap drivers and get some exercise. Consider worksheets, stories, and games that are themed around the geographic location you are traveling through. It will add value to the travel experience.
Schedule Car Activities
Have a schedule for activities in the car, stops along the way, and arrival time. A schedule will help ease anxiety and limit the “Are we there yet?” questions. Break the schedule into one- or two-hour segments for making stops, meals, and changing activities. Have a variety of activities for the kids to complete amongst themselves, independently, and as a family to make the time go by. Ongoing activities and competitions such as a license plate game, road trip treasure hunt, and bingo allow for some friendly competition. Independent activities can include simple crafts, coloring books, activity sheets, and reading for nice, quiet time.
Plan Snacks and Meals
Create a plan for snacks and meals for the trip. Healthy food options that are well thought out will keep energy up and appetites satisfied. Kids like to eat often, so allow them choices for healthy snacks every hour or so. Schedule in special treats too so they have something to look forward to. Fresh veggies, fruit, veggie chips, granola bars, finger sandwiches, and cheese and crackers, are great choices to help you avoid expensive stops for unhealthy fast food. A road trip meal plan will also keep the captain’s and co captain’s energy levels maximized. A little preparation before the trip will keep everyone nourished.
Organize Car Ahead of Time
Organize the car at the start of the trip. Have a place for food, activities, personal items, and emergency items that may be needed while in transit. Overnight items can be packed a little deeper in the vehicle. We suggest having items needed for any overnight stops on the way packed in a separate bag or area for easy access.
When the trip involves daily travel to new locations and lodging, consider separate bags of clothing for each stop to reduce the need to completely unpack and repack. Have the kid’s activities and materials organized for each child to prevent panic and frustration as they will know where everything is. Have your personal items organized too such as cash, water, snacks, sunglasses, umbrellas, and maps. You will want to have extra water, plastic bags, wet wipes, medication, and emergency contacts available. For the return trip, keep the same level of organization to reduce stress and keep the vehicle tidy.
Have fun planning your next family road trip. The more organized the plan is, the more enjoyable the experience will be.
by Jayme Radomski | Jan 5, 2021 | Clutter, Organizing
 Deciding what to keep, donate, and toss through your organizing journey can help relieve the pressure of organizing. Identifying these three categories will depend on your personal needs and the time of your life. Your reason to get organized may be to keep your busy family functioning efficiently, to prepare to downsize and simplify your household or free up some space for the things you love. Everyone has a different “why” for their organizing journey.
Have a plan before beginning this process! Take an informal inventory of everything you have in your home. This inventory can be done with a simple pen, a legal pad of paper, and a walk-through of your home. Write down general categories of everything. While taking this informal inventory, make a preliminary note of where each item might go. You can also take note of what categories to start with. As this plan evolves, remember the goal is keeping what is really important and what you really love.
Top Shelf has prepared a guide to help you think through what to keep, donate, and toss.
The Keepers
Needs
The easy part of deciding what to keep is identifying what you need. These items are needed for daily life and are simple and basic. If you were to move into a camper or very small house, what items would you need to live? Basic cooking tools, a simple assortment of dishes, clothes, towels, and some toiletries are examples of items that are needed. In a larger family, there will be additional items that each family member needs to live and function.
Wants
Going beyond needs, there will be many other categories of items you would keep. The categories go on and on. We will touch on a sampling of these items such as heirlooms and memories, toys, household items, clothing, personal care, and hobbies. Wants is where we have balance practicality and excess. Your home is full of useful items, but if there are not being used, they are not useful to you at all.
Heirlooms and Memories
Heirlooms and memories are important to carry on your family legacy. These items should be just that, your legacy. Heirlooms and memories that have the strongest, happiest memories are what represent you. Items that do not represent your legacy and do not have the best memories can move into the donate or toss category. You might come across love letters, trophies and medals, a wedding dress, artwork, schoolwork, photos, and more photos. A sampling of these items that represent you and what you want others to remember is important.
You certainly would not want to burden your family with an excess of items that do not reveal your legacy or bring on sad and hurtful memories. For example, a medal from a marathon you actually didn’t complete, participation trophies, your 3rd-grade spelling test, love letters from an abusive partner, and repeat photos of the same event are items that don’t represent your legacy. Instead consider keeping your diplomas, a piece or two of artwork, taking photos of important trophies and metals, keeping important metals (military metals), and a love letter from your current spouse. Admittedly, heirlooms and memories are a tough category, but one that certainly needs to be addressed and organized.
Toys
Toys the children still engage in will remain on the keep list. Toys that no longer keep kids engaged or are damaged, might belong on another list. Saving toys for grandkids, and nieces and nephews may become a burden as toy safety is ever-changing. The size of the toys is another consideration. If it does not pack away nicely, the toy may not be worth saving.
Household Items
There are items that fall into the need category, but excess may need to move to the donate category. Think about items like dishes, linens, towels, makeup, self-care products, sporting goods, shoes, décor, etc. These are the areas you will want to think about how much of each item is reasonable to keep.
After you have determined what items are an absolute need, you can then determine a reasonable amount of wants in this category. This topic has been discussed over and over in the professional organizing world. This category ranges from the linen closet to the kitchen, to the china cabinet.
Make an informal list of all the categories within household items and place a quantity on a reasonable amount of each item you would like to keep. For example, you may want to keep two bath towels for each person in your household plus an additional four just for guests. Any excess towels are great candidates for donating to a charity that can utilize them. You may only need two or three pots of different sizes in your kitchen. Wine glasses may be reduced if you do not host large parties anymore.
Clothing
Clothing is a topic all on its own. We spend a lot of time and money on the purchase of clothing which makes it difficult to part with. Clothing that is worn and stained are candidates for textile recycling where the material itself is used to create new products. Clothing that does not fit, flatter, or function can be donated to a charity looking for clothing. Saving clothing of a previous size or two may cause you to stress trying to be a size you were in a different season of life. Love what you wear now, and reward yourself with something new when weight and fitness goals are reached. Be ruthless in this department. If you do not truly enjoy wearing an item, it is time to pass it on to someone who needs it.
Personal Care
Personal care items can quickly accumulate, especially if they are not organized and inventoried regularly. Once you gather and categorize the items, toss anything that is old, expired, and open, and not wanted. Unopened items that are not wanted can be donated to local shelters. Take note of what you have remaining.
Have a central storage location for these items for better inventorying. Understanding what you have will reduce over purchasing of these items. Additional information on organizing these items can be found in Simplify and Organize Your Linen Closet.
Hobbies
We have hobbies that we once enjoyed, hobbies we currently enjoy, and hobbies we aspire to pursue. All these hobbies require supplies and equipment. Focus on just keeping supplies for the hobby you are currently into and have time for and hobbies that are likely on hold. The supplies and equipment for past hobbies and aspirational hobbies might have a better life with someone else who has the time for them. They make great donations for resale.
Off to Donation
Donating items can be a simple as dropping off all items at a donation center, or you can carefully select what charity will put each item to its best use. Be realistic about how much time you spend deciding on what goes where. The goal is to put your useful stuff back in use by someone who needs it. Donation centers can be overwhelmed with items so be mindful of what you send their way.
What to Donate
Donate items that are in usable condition. Items that are missing parts, broken, stained, or torn can be recycled or sent to a landfill. Donation centers typically do not take electronics, certain baby items, mattresses, or furniture. Expired items should bypass donation and go right to the landfill.
Where to Donate
Different organizations need different items. If time allows, you can send different items to different organizations. For example, animal shelters can use linens and towels, hospitals can use clothing for patients to wear home when their clothing has been destroyed or is needed as evidence, shelters need toiletry products, and food pantries will take unperishable food that is not expired. This Donation Guideline published by Goodwill Industries is a great resource for general donation information.
Off to the Recycling Center or Landfill
When items are no longer useful or functional, they can be recycled or disposed of. The local refuse and recycling service publish what items can be picked up for curbside recycling and disposal. Understand what can be recycled through this service in your area. Additional items can often time be picked up for recycling for an additional fee. Other items may need to be brought to a specific recycling center. These items can include textiles and clothing, plastic gardening pots, plastic shopping bags, motor oil, and wood.
There are items such as oil-based paints, batteries, and hazardous materials that will need to be brought to a household hazardous waste drop off-center. Learning your municipality’s rules will help make decisions on what items can go where.
Have a Plan
There is no doubt going through personal and family items is emotional, exhausting, and can feel endless. A strategic plan to tackle this daunting task will help keep you on task. Start with easy items such as food and toiletries. Making some simple progress, in the beginning, will feel good and motivate you to keep going. It is not about getting rid of everything. It is about keeping what is really important.
Top Shelf Home Organizing has helped dozens of households simplify, reduce, and get organized. If this process is overwhelming to you, we can help. Contact Jayme to see how Top Shelf Home Organizing can help you.
by Jayme Radomski | Dec 4, 2020 | Clutter, Organizing
 Winters are long and hard in the Midwest. So how about tackling some quick and simple organizing projects on the long, cold days to beat the winter blues? We put together a quick list of projects you can have ready to blast through on the next snow day.
Simple organizing rules apply to anything you are organizing: gather, sort, purge, organize and label. Have a rag and cleaner ready to wipe down the area after it is emptied out before you organize and label. Sort by category to get a clear understanding of what you have and what you can purge. When organizing and labeling, use clear containers with labels and keep items in their categories. This will help keep the area organized and inventory under control.
1. Craft closet
Gather all craft items into one area. Sort the items by category. Purge items that are not useful (scraps, dried products, dull scissors). Organize the items and use fun labels to inspire creativity.
2. Game closet
Pull all games out of the area. Reassemble games with loose pieces and cards. Give a little TLC to damaged boxes with some strong packing tape. Sort games into age categories. Remove any games that no longer interest your family or games they have outgrown. Organize the games by category and include labels for simple replacement.
3. Pantry
This is a great project for any season. Remove all items from the pantry. Sort by category. Remove any old, spoiled, or expired food. Donate food that is unopened, not expired, but not wanted. Find a new home for any non-food and non-kitchen items. Keep all food in the same pantry or area of your kitchen. Categorize your food into grains, pasta, soup, fruit, vegetables, snacks, lunch items, etc. Utilize clear bins with labels to help keep food in their categories and help you identify items you are getting low on.
4. Storage Containers
Gather all storage containers and lids. Pair up the containers with lids. Recycle containers or lids that don’t have a partner. Organize containers by size and nest them together if possible. Keep a reasonable number of containers. Excess containers make staying organized a challenge. Place storage containers in an easy to reach location and label the shelves. Having to bend over or reach too high is an invitation for this category to become messy again.
5. Sock Drawer
Socks are a quick and satisfying project. Like any other category, you’ll gather all socks and put together pairs. Make sure you have your socks from the laundry hamper washed and included in this step. You may choose to fold or ball them together or roll them up. Remove the socks that don’t have a partner, have holes, have failed elastic or the socks that you don’t like to wear.
6. Refrigerator
Place all items from the refrigerator onto your countertop. Wipe down the shelves, drawers, gaskets, and door. Toss food that is expired, spoiled, and unwanted. Categorize the food into categories such as fruit, vegetable, dairy, condiments, lunch, leftovers, etc. Deep, clear bins with labels may help keep items in their categories. Place items back into the fridge in their categories. You may need to adjust some shelves based on the size of your items.
7. Freezer
Organizing the freezer is just like organizing your refrigerator. Empty the freezer and wipe down all the surfaces. You may need to complete a quick defrost. Categorize the food items from the freezer into categories such as vegetables, fruit, desserts, prepared meals, meat, etc. If you have a large freezer, you may want to write down an inventory. A formal inventory will help you with meal planning and inventory control. Toss any food items that are expired or have gone bad. Consider clear freezer bins for the loose items. When returning the food to the freezer, keep the older items closer to the front and new items to the back for first-in, first-out inventory control.
8. Winter gear
Gather and sort all winter gear by the person and then by category (glove, hats, scarves, face masks, etc.). Inspect for holes, tears, wear, and damage. Donate items that are still functional, but may no longer fit your size or your style. Use bins or an over-the-door, clear organizer to keep everyone’s gear organized by person and category.
9. Photos
Grab a box of photos from the basement or a file from your computer. Sort through the photos and place them into chronological order. Remove any photos or photo files that are duplicates or don’t display a picture you want to keep. Tag people in the photos for future reference. This can be done with a photo-friendly pen on the back of physical photos. Use index cards or subfolders to identify special events within the photo box or file folder. Clearly label the photo box or file folder with the date range of the photos and any major events that are included.
10. Books
There are so many ways to organize books. Keep this task simple by gathering all your books into one area. Categorize your books into categories that you would use to retrieve them (cookbooks, reference books, professional development books, mystery books, children’s books, etc.). Donate books that no longer interest you. Place books by category to an area where you use them or on a central bookshelf. Use labels, if it will help family members remember where to replace books when they are done reading them.
11. Spice cabinet
Gather all the spices from the spice cabinet and other areas of the kitchen. Categorize the spices by name. Toss spices that are old. Many spices now have an expiration date, or you can use the one-year rule of thumb. Place spices back into the cabinet in alphabetical order, reserving the front and center for the few spices (and seasonings) you use most frequently such as salt, pepper, cinnamon, etc. You may want to consider a riser or bins to help keep spices organized and visible. Labels can also help quickly identify if a spice is in stock.
12. Linen closet
Gather and sort all items of the linen closet into categories. Pair down and donate excess items. Remove items that are cluttering up space such as seasonal items and items with limited use (beach towels, humidifiers, extra hair dryers). Neatly fold items and use clear bins for toiletries and other loose items. Label shelves for easy retrieval and replacement.
13. Office supplies
Gather and sort all office and school supplies in one central area. Use clear bins and containers to organize items by category. Store all the items in one common area so family members know where to go for supplies, know where to replace them when done, and to keep a good inventory. Be sure to label all categories.
14. Media cabinet
Tackle your media cabinet by removing all items and wiping down all surfaces. Straighten and organize cords and cables. Categorize all movies and music CDs if you still have physical media. Gather gaming devices and gadgets, and place them into a bin. Place all categorized items back into the cabinet and label.
Refresh your mood and your home with these quick organizing projects. Just a little bit of organizing can take your mood a long way. Select projects that fit the time you have so you can feel accomplished and complete. Jayme at Top Shelf Home Organizing would love to guide you through your organizing journey. Let’s talk!

 Disorganization and clutter can affect you both mentally and physically. Having lots of clutter and being disorganized creates more stress in our lives. It can cause anxiety. Too much clutter can also cause troubles sleeping, poor eating choices, or even make it hard to dust causing allergies.