by Jayme | Jan 17, 2022 | Clutter, Organizing
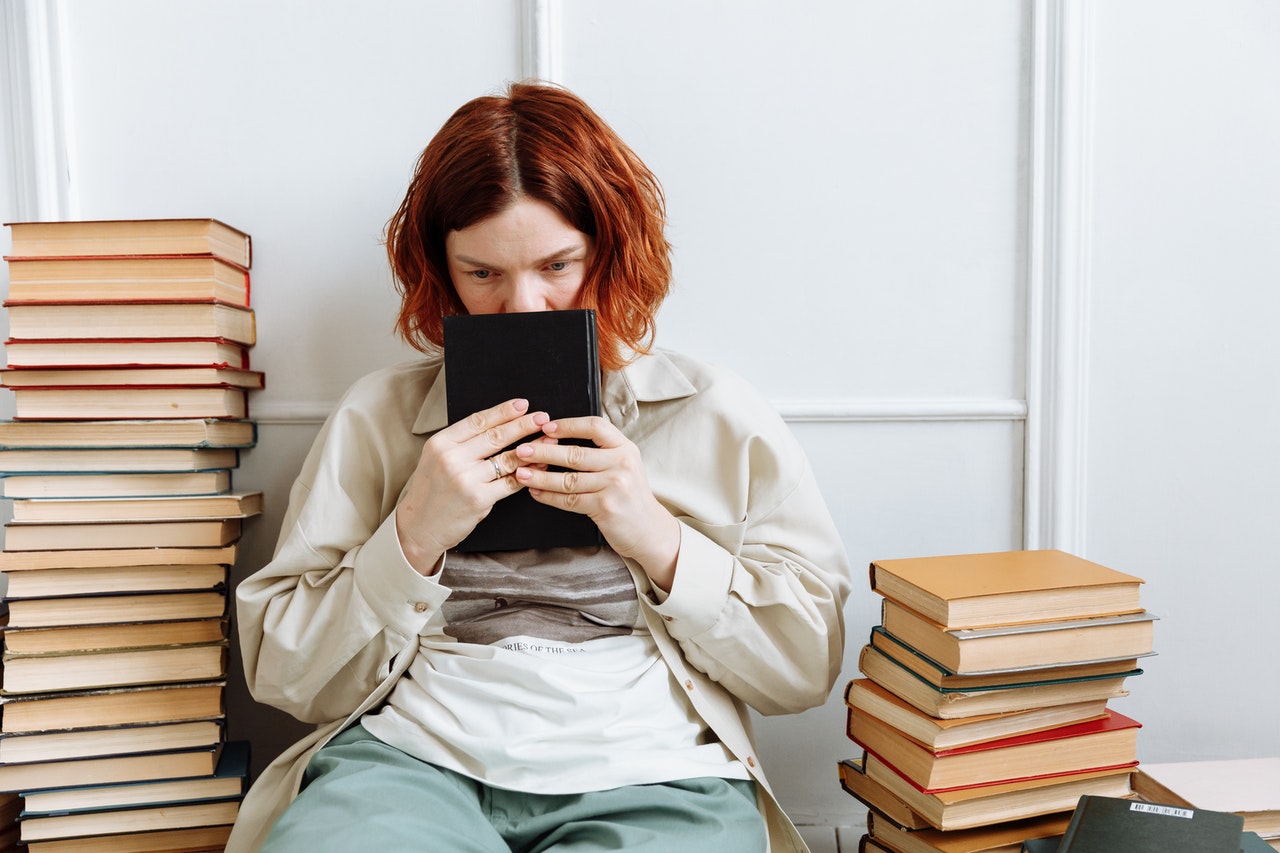
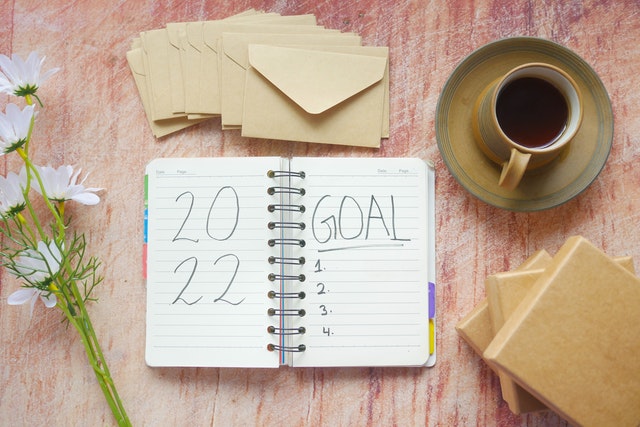
 The new year brings a desire to clear out the old, bring in the new, focus on goals, and be more productive. Making a clean sweep through your life and home will help you focus on all your new year goals and plans. Coming up on Top Shelf Home Organizing’s eight year of helping busy families, we created a list of impactful things you can declutter to have the best year yet.
1. Schedule
Take a real look at your busy schedule. Create a priority list of activities. Start with the time required to make money and care for your family. Then look at what makes you happy and healthy. Time wasters that do not fulfill the above can be seriously reconsidered. Your time is precious.
2. Email
Take some time to clean out your inbox. Create a list of action items from your email to tackle at another time in order to keep focused on clearing the emails. Unsubscribe to any email lists that you do not want to continue receiving. Consider a separate email account for retail promotions and other non-business email lists.
3. Holiday Decor
As you are packing away your seasonal décor, donate the items you did not use or did not enjoy this past season. This will make packing away décor and decorating next holiday much easier. More tips on Organizing Holiday Stuff here.
4. Pantry
Eating healthy in the new year means cleaning out the junk from the pantry. Clear out any food that is expired or doesn’t align with your healthy eating goals. Follow these Simple Steps to Pantry Organization here.
5. Food Containers
Has your stock of food storage containers expanded over the holidays? Clear out any mismatched lids and containers that do not match, return any containers to family and friends, donate the extras that you do not need. More ideas on Framework for Organized Kitchen here.
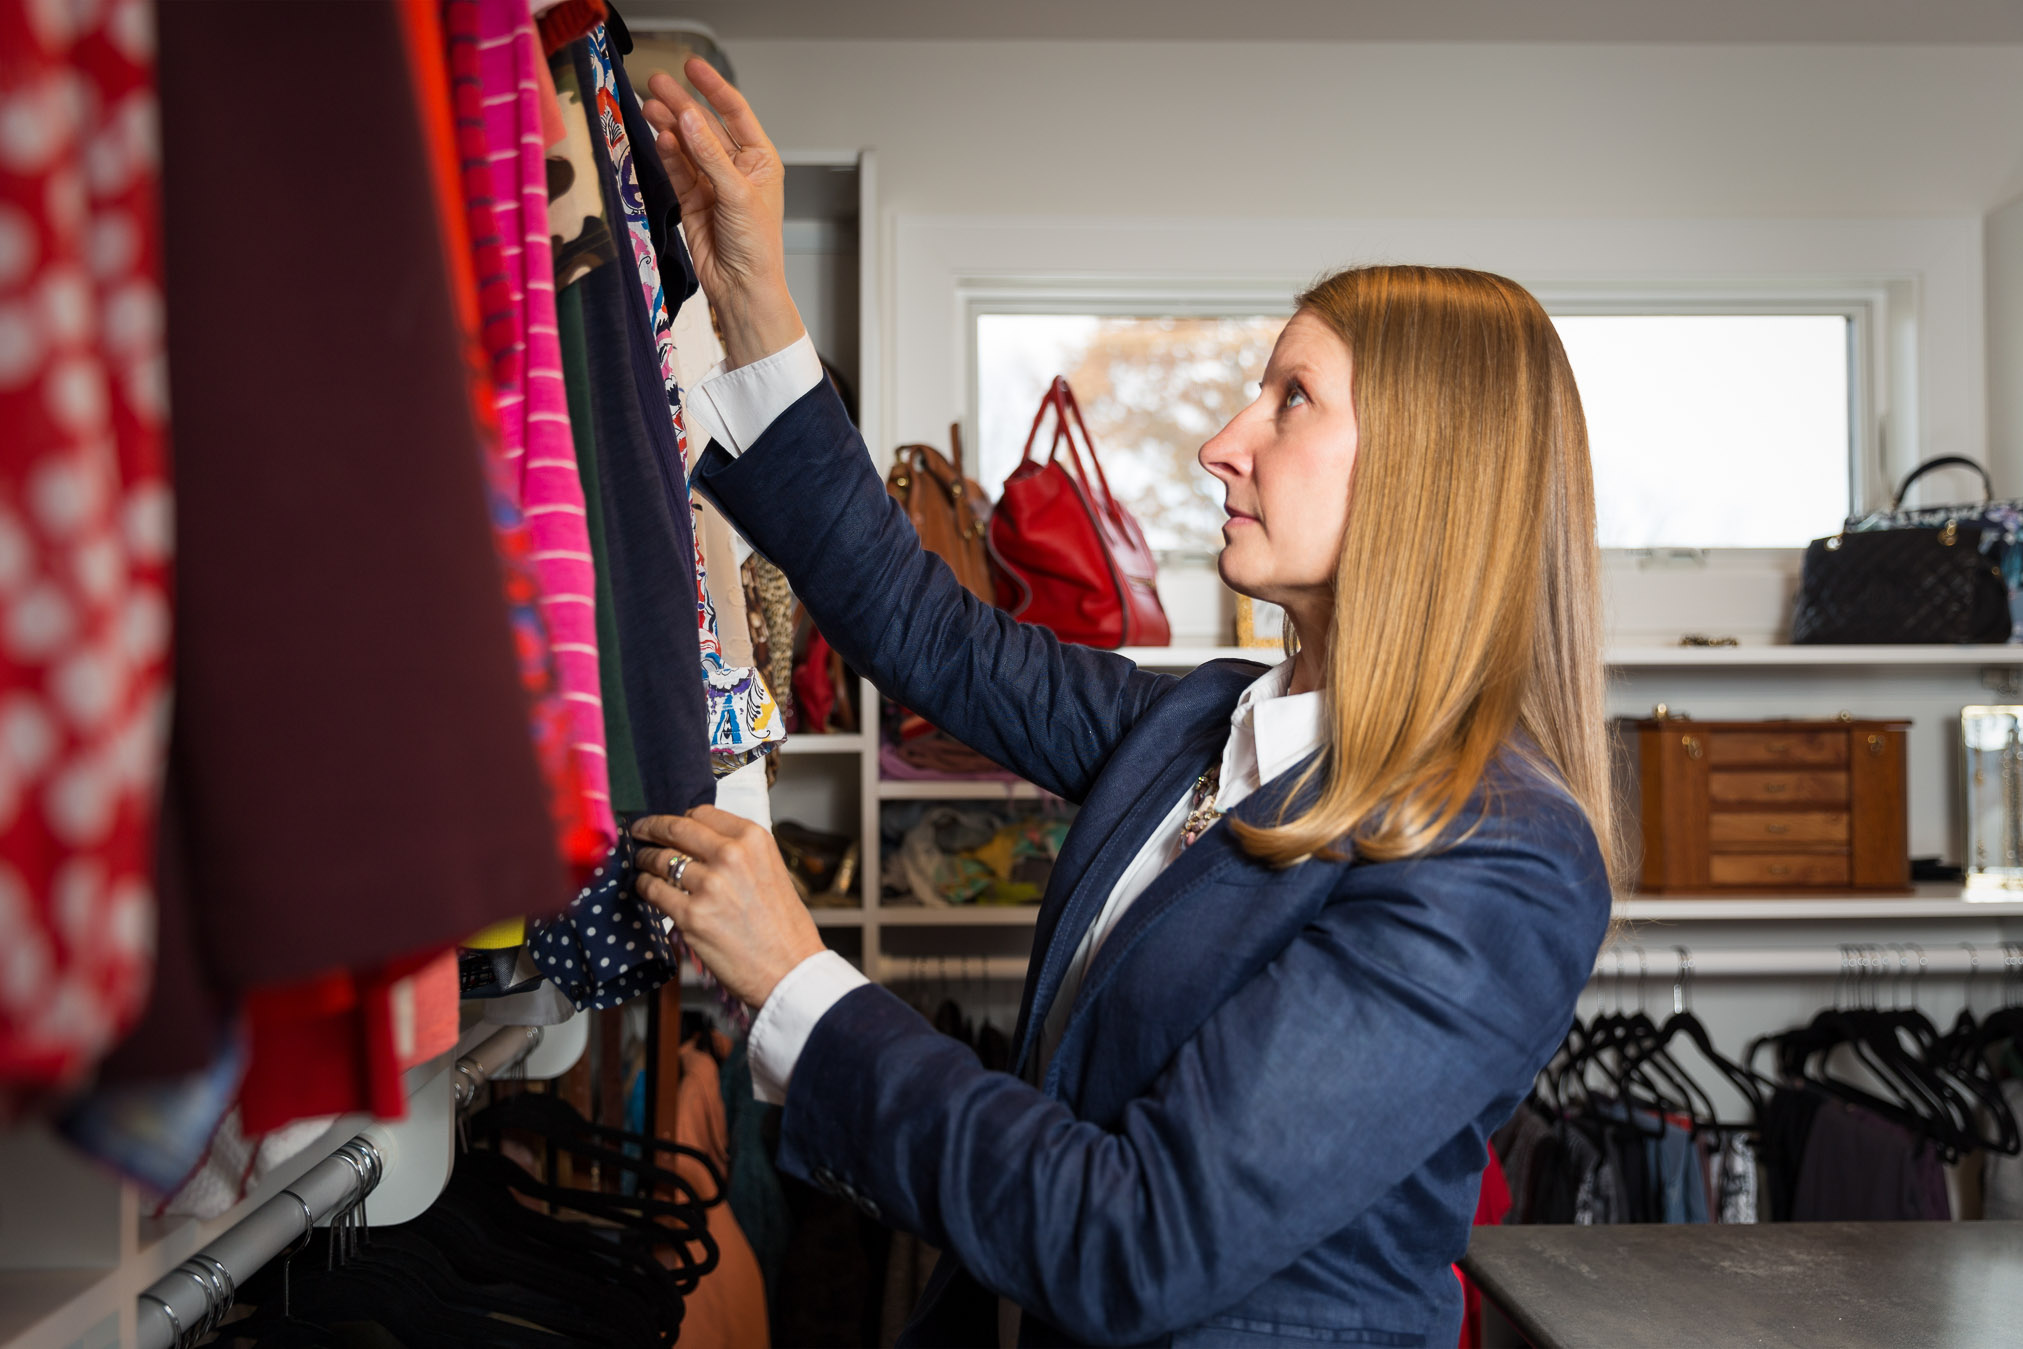
6. Clothes
Donate the clothes you did not wear in the past year. If you did not have the desire or reason to wear some of your clothes in the past year, chances are you won’t wear them this year. Find a good charity you want to support and donate your clothes. More on Wardrobe Decluttering from Conway Image Consulting here.
7. Personal Products
Clear out your personal products by discarding old, expired make up, lotion, perfume and soap. Get rid of products you do not use or are not the right fit for you. Unopened, unexpired items can be donated to a shelter or social services program. Learn more Fun Bathroom Organizing Tips here.
8. Toys
Any toys your kids did not play with in the last 12 months can be sold or donated. If they didn’t play with them in the last year, they likely will not play with them this year.
Get Started!
This list is enough to get you off to a great start this year. Decluttering is a process. It cannot be done in one hour or one day. Start with areas with the biggest impact and start the snowball rolling. After years of working with busy families, we know areas to focus on.
When organizing and decluttering overwhelms you, we are happy to help. Reach out to Jayme at Top Shelf Home Organizing to get you started on the right track
by Jayme | Dec 15, 2021 | Clutter, Managing Time
By: Jena Ehlers, The Wellness Resolution
 Disorganization and clutter can affect you both mentally and physically. Having lots of clutter and being disorganized creates more stress in our lives. It can cause anxiety. Too much clutter can also cause troubles sleeping, poor eating choices, or even make it hard to dust causing allergies.
How an Unorganized Space Creates Anxiety
After an exhausting day, it can be hard to relax when you see piles of papers, piles of boxes, surfaces cluttered with junk, clothing piled up, etc. You might not consciously feel anxious when you see the clutter, but you could be feeling it subconsciously. Just think about how you feel after you have cleaned your kitchen and everything is neatly put away. There is a sense of calm when you start cooking and nothing gets in your way.
I have noticed when I make sure to clear all the clutter on my coffee tables, end tables, fold blankets, and place all the pillows neatly on my couch before bed, I feel this sense of calm when I see my living room space in the morning. When I don’t my mood is less uplifting.
Harms Your Productivity and Focus
It can be harder to concentrate on one project at a time if you are not organized. Not only with not being organized with your work priorities, but just seeing clutter around you can be a distraction and make it harder to focus and remember things.
Sabotages Your Time
When you are in a rush to make a meal, find the perfect outfit for the day, and get out the door in the morning, being organized is a huge time saver! Just the thought that you might be late for work or another activity can create some anxious feelings. Being organized will help you make more efficient plans and save you time.
Anxiety from Items that Don’t Fit Your Space or Lifestyle
Items that don’t fit with the style of your living room, clash with the color palette you are trying to achieve, take up too much space, or remind you of a person you used to be, should be decluttered. These items can make you feel less happy, and your home should be a place that best represents you. The current you, not the past you. These items can also create unnecessary anxiety, and your home should be the place where you feel the most comfortable.
Items that Bring Bad Memories
Clutter could bring up bad memories either on a conscious or subconscious level. Maybe you have an item in your house that reminds you of a difficult time in your life, an item a friend gave you that you no longer speak to, or just an item that represents a former you. Seeing that item regularly could cause sadness, anger, or anxiety. So make sure to declutter items that no longer bring you any happiness, even if they are really unique or expensive.
At Top Shelf Home Organizing, we love to help busy households get organized. If you are looking for guidance on getting your home organized, reach out to Jayme.
by Jayme | Nov 1, 2021 | Busyness, Clutter, Organizing
 Decluttering is one of the first steps to an organized home. The emotions that emerge when sifting through items in your home can overtake your motivation to declutter. We all experience emotions when working through items acquired through our life experiences. Hope, fear, guilt and emotional attachment may prevent us from decluttering our homes. Identifying, understanding, and overcoming these emotions will help you create the peaceful home you desire.
Here are some key areas to consider to help overcome these strong emotions.
Setting Small Goals
Have you started to declutter in the past, but the project was too overwhelming? When emotions arise, cutting the clutter can be nearly impossible to tackle. Breaking the process down in steps or a method can make the project manageable and reduce overwhelm. Instead of telling yourself you are going to organize the basement this weekend, set the goal of gathering one category of items. Getting all items together is a task that is clearly defined and does not bring on the overwhelm of the entire organizing process.
Gathering tools, pants, or pots and pans feels much more manageable than getting an entire room organized in one weekend. Once a category is gathered, set the next goal of sorting the category. Dividing the items into: need/love, don’t need/dislike, and might use/its okay categories is a task that can be completed in a reasonable time. Breaking down the individual tasks in an organizing project will help reduce overwhelm.
Letting Go
The things in our home and life arrived because of a life event. Revisiting these items may bring back memories. A college backpack, an engraved pen set, wedding dress, handwritten notes and cards, artwork, sporting goods, or tools and crafts were acquired at a time of life when there was an accomplishment, celebration, or a life change. It was a big time in your life. An array of emotions may surface when approaching these things making you feel the need to keep the items. Understand these items are not who you are. Your life experiences have shaped who you are today, not the stuff. Letting go of items will not change who you are, what you have experienced, or what you have accomplished.
Fear
The emotion of fear prevents us from decluttering our homes. We keep items because they offer a sense of security. Fear may exist because you feel you may not have the resources someday to purchase the items or the items may not be available.
The first step in overcoming this fear is understanding if you will even need or use the item someday. You may be hanging on to hobby items you will not have the time or physical ability to use again, but fear if you get rid of them, you may not have the resources to purchase them again. You may have a pantry full of expired food because you fear you may not have the resources someday to buy food. You may fear you will hurt someone if you donate the wedding gift they gave you. Understanding why you are afraid of purging the things in your home can help you overcome the fear and be realistic about what you keep in your home.
Would You Buy It Today?
Ask yourself if you would buy the item today. This question is great when you are decluttering household items, personal care items, and clothing. If you were to make a decision on whether to purchase a particular item right now, would you? Would you purchase that kitchen gadget, lipstick, or clothing item you have in your closet today? You may have truly enjoyed the item at one time. Maybe you believed the item would make you more efficient in the kitchen. If your answer to this question today is anything but “yes,” the items do not have a place in your home.
At Top Shelf Home Organizing, we love to help busy households get organized. If you are looking for guidance on getting your home organized, reach out to Jayme.
by Jayme | Jul 21, 2021 | Clutter, Organizing, Saving Time
 For many of us, getting organized is manageable but maintaining the organization is a challenge. Whether you spend your weekend binge organizing or outsource your organizing projects to a professional, the organization systems need to be maintained. As a busy mom of four, dog mom of two pooches, wife, and business owner, I want to share my 10 favorite personal tidy tips that help me keep sane when the day is hectic.
- Make Your Bed
Make your bed right when you crawl out.
- Put Your Stuff Away, Right Away
Remember how it takes time and resources to get organized? Now you need to put your things away to keep your home organized.
- Make the Rounds
Make the rounds through your house to collect and put away miscellaneous items daily or twice daily.
- Run the Dishwasher
Empty the dishwasher first thing in the morning. This will start your day with a clean slate in the kitchen. Load the dishwasher throughout the day with soiled dishes. Run the dishwasher nightly. Repeat this process every day to prevent a dirty dish pile-up.
- Clean-Up as You Go
Wipe the countertops after each meal. Wipe the bathroom counter and faucet after you brush your teeth. Squidgy the shower walls and door after a shower. Wipe spills and splatters as they happen.
- Have a Schedule
Have a day scheduled for larger tasks, even if you cannot dedicate a full day to these tasks. Focusing time on just one task will get it done more efficiently than juggling all the tasks unsuccessfully at one time.
-
- Grocery day
- Meal prep day
- Laundry day
- Cleaning day
- Additionally, use a deep clean schedule to help rotate through deep cleaning areas of your home. Schedule one area per week.
- Think Tidy When You Walk Through the Door
-
- Leave your shoes at the door
- Put your bag on its hook
- Keys go where they belong
- Leave Nothing on the Floor
-
- Keep toys, papers, blankets, and dirty clothes off the floor
- Hang up clothes you will re-wear right away
- Place dirty clothes go into the hamper
- Towels get hung on the hook
- Toys get put away when not being used
- Take Out the Trash
Take out the trash when you leave the house for the day. This will keep odors out of your house while you are gone. It will also feel good to see an empty garbage can when you get home from a busy day. Don’t forget garbage collection day. All trash and recycling need to go out on trash day.
- Deal with Mail Daily
Collect, sort, purge, and file mail daily. Removing the junk mail daily will make your mail opening day more manageable. File important mail in one location so it is gathered together and ready when you need to open it. Open the mail when you are ready to address, pay, and file it.
Establishing and maintaining a routine will help your home stay tidy. At Top Shelf Home Organizing, we love to help busy households get organized. If you are looking for guidance on getting your home or office organized, reach out to Jayme.
by Jayme | May 26, 2021 | Clutter, Organizing, Productivity
 Welcome to Top Shelf Home Organizing. Are you ready to feel the freedom of an organized home and office? You deserve to have a home and office that is as organized and productive as it can be. You are busy, we understand. We are here to help you achieve, what you dream your space can be. It is time to stop sifting through the clutter to find what you need.
We can’t wait to work with you!
Professional organizing may be brand new to you. So we are sharing what the journey of hiring a professional organizer looks like. At Top Shelf Home Organizing, we take the time to get to know you, your space, your schedule, your lifestyle, and your personality before coming into your home or office. Our goals are to teach you simple solutions for your home, office, and life.
Here are the six steps to expect during your experience with Top Shelf Home Organizing.
Intake form
The form will be emailed to you shortly after your initial contact with us. It is designed to give you a chance to think about your true organizing goals and challenges are. The intake form is a preliminary understanding of the extent of your organizing needs and the people involved. Once this form is complete and returned, we will set up a phone call.
Phone Call
A 30-minute casual phone call will further identify your organizing goals and help us to get to know each other. This call will determine the extent of your organizing project, materials that may be needed, the timeframe of the project, and the number of organizers needed to complete. We will go through the intake form in depth.
On-Site Consultation
An on-site consultation will give us the whole picture of your space and allow us to meet one-on-one with each other. On-site we will finetune the project scope and goals while getting familiar with your space. We will take measurements and photographs, and create a list of materials if products are required. The on-site consultation lets us understand what is behind the scenes to better address your goals.
On-Site Organizing Sessions
The on-site organizing sessions are where the physical work takes place. The five basic steps of organizing will happen. Some people like to work side-by-side with us. Others may prefer to direct us on what to do and remain hands-off. Many people choose to be available for questions and occasional decision-making but continue to go about their daily lives and work. Often, once a relationship is established, the organizers work independently in this phase.
The steps to organizing a project of any size include:
- Gather – All items are removed from current storage.
- Sort – Items are sorted by category.
- Purge – Items no longer wanted, needed, and liked are donated, disposed and recycled.
- Organize – Items are organized into systems that fit and work for you.
- Label – All items are clearly labeled for ease of locating and returning to storage.
Homework
There may be tasks you prefer to complete on your own, independent of help from the organizers. Some choose to do this to make the project more economical. Other times, people want to go through items that are more personal on their own or with their family. We create a detailed, but a simple list of items that you can complete on your own, in between sessions with the organizer.
Follow-Up
We love to know how the new organization is working for you. We will touch base within a few days of the on-site session to discuss how the organization is going. This time is designed for you to give feedback and ask any questions you may have. We will also check in on any homework you may be working on. This is a great time to schedule future sessions to keep you meeting your goals and maintain what has been organized.
Top Shelf Home Organizing Policies
On-site consultations are $50. Reservation fees are $50. Both fees are credited to your service. Payment is due in full at the end of each on-site organizing session.
A cancellation fee of $50 applies to all cancellations and reschedules with less than 24-hour notice.
Refer someone to Top Shelf Home Organizing and receive 10% back in organizing services. Credits are earned for the first six months of services after referral. Credits are redeemed at a $75 per hour rate.
Top Shelf Home Organizing, LLC
Simple. Life. Solutions.
Jayme Radomski, Owner
262-373-9416
Jayme@topshelfhomeorganizing.com
topshelfhomeorganizing.com
facebook.com/topshelfhomeorganizing youtube.com/channel/topshelfhomeorganizing pinterest.com/TopShelfHomeOrg
instagram.com/jaymeradomski
linkedin.com/in/jaymeradomski
by Jayme | Mar 16, 2021 | Clutter, Organizing
Getting your home back in order after a year-long pandemic is no light task. All items in your home will be identified as purge, store, or put away. Work your way through your home with a plan. Follow the system of gather, sort, purge, organize and label for each area of your home.
Here are some ideas to help make this daunting task more manageable.
 1. Start with Storage
Start with your storage areas such as the basement, attic, and garage. Understanding what you have in storage can help determine where to store your items as you work your way through your home. This is also a good time to clear out the items that you no longer need or use. Break this project down into categories of items or areas of storage. Thoroughly go through each item and group it into topics.
2. Infrequently Used Spaces
The next area to tackle would be an area of your home that you do not use every day or will not impact your family’s day-to-day operations. These areas may include guest bedrooms, hall closets, recreation rooms, and the office. Break these areas down into very small, manageable projects. This may require organizing one small drawer or bin per day. Work through the area by area while staying focused. Since these areas are not used daily, it is OK to pause your organizing, close the door and resume tomorrow.
3. Everyday Spaces
The last areas to organize will be the areas you use every day such as the master bedroom, kitchen, and living room. These areas should be relatively easy as you have established what you have in storage and organized items that are not used daily. Rarely used items you will find in the areas you use every day and can be placed in the proper categories in storage. Remove items that you do not need or like (you have probably heard me say this many times). Clearing this clutter will help your home feel more functional and be more organized.
Create a Generous Schedule
Remember, organizing your home can be a daunting process after a year at home. Create a generous schedule working through your home as listed here. Stay focused, get help and allow yourself some grace. Life is getting back to normal and so will your home.
Top Shelf Home Organizing has helped dozens of households simplify, reduce, and get organized. If this process is overwhelming to you, we can help. Contact Jayme to see how Top Shelf Home Organizing can help you.

 The new year brings a desire to clear out the old, bring in the new, focus on goals, and be more productive. Making a clean sweep through your life and home will help you focus on all your new year goals and plans. Coming up on Top Shelf Home Organizing’s eight year of helping busy families, we created a list of impactful things you can declutter to have the best year yet.