by Jayme | May 26, 2021 | Clutter, Organizing, Productivity
 Welcome to Top Shelf Home Organizing. Are you ready to feel the freedom of an organized home and office? You deserve to have a home and office that is as organized and productive as it can be. You are busy, we understand. We are here to help you achieve, what you dream your space can be. It is time to stop sifting through the clutter to find what you need.
We can’t wait to work with you!
Professional organizing may be brand new to you. So we are sharing what the journey of hiring a professional organizer looks like. At Top Shelf Home Organizing, we take the time to get to know you, your space, your schedule, your lifestyle, and your personality before coming into your home or office. Our goals are to teach you simple solutions for your home, office, and life.
Here are the six steps to expect during your experience with Top Shelf Home Organizing.
Intake form
The form will be emailed to you shortly after your initial contact with us. It is designed to give you a chance to think about your true organizing goals and challenges are. The intake form is a preliminary understanding of the extent of your organizing needs and the people involved. Once this form is complete and returned, we will set up a phone call.
Phone Call
A 30-minute casual phone call will further identify your organizing goals and help us to get to know each other. This call will determine the extent of your organizing project, materials that may be needed, the timeframe of the project, and the number of organizers needed to complete. We will go through the intake form in depth.
On-Site Consultation
An on-site consultation will give us the whole picture of your space and allow us to meet one-on-one with each other. On-site we will finetune the project scope and goals while getting familiar with your space. We will take measurements and photographs, and create a list of materials if products are required. The on-site consultation lets us understand what is behind the scenes to better address your goals.
On-Site Organizing Sessions
The on-site organizing sessions are where the physical work takes place. The five basic steps of organizing will happen. Some people like to work side-by-side with us. Others may prefer to direct us on what to do and remain hands-off. Many people choose to be available for questions and occasional decision-making but continue to go about their daily lives and work. Often, once a relationship is established, the organizers work independently in this phase.
The steps to organizing a project of any size include:
- Gather – All items are removed from current storage.
- Sort – Items are sorted by category.
- Purge – Items no longer wanted, needed, and liked are donated, disposed and recycled.
- Organize – Items are organized into systems that fit and work for you.
- Label – All items are clearly labeled for ease of locating and returning to storage.
Homework
There may be tasks you prefer to complete on your own, independent of help from the organizers. Some choose to do this to make the project more economical. Other times, people want to go through items that are more personal on their own or with their family. We create a detailed, but a simple list of items that you can complete on your own, in between sessions with the organizer.
Follow-Up
We love to know how the new organization is working for you. We will touch base within a few days of the on-site session to discuss how the organization is going. This time is designed for you to give feedback and ask any questions you may have. We will also check in on any homework you may be working on. This is a great time to schedule future sessions to keep you meeting your goals and maintain what has been organized.
Top Shelf Home Organizing Policies
On-site consultations are $50. Reservation fees are $50. Both fees are credited to your service. Payment is due in full at the end of each on-site organizing session.
A cancellation fee of $50 applies to all cancellations and reschedules with less than 24-hour notice.
Refer someone to Top Shelf Home Organizing and receive 10% back in organizing services. Credits are earned for the first six months of services after referral. Credits are redeemed at a $75 per hour rate.
Top Shelf Home Organizing, LLC
Simple. Life. Solutions.
Jayme Radomski, Owner
262-373-9416
Jayme@topshelfhomeorganizing.com
topshelfhomeorganizing.com
facebook.com/topshelfhomeorganizing youtube.com/channel/topshelfhomeorganizing pinterest.com/TopShelfHomeOrg
instagram.com/jaymeradomski
linkedin.com/in/jaymeradomski
by Jayme | Mar 16, 2021 | Clutter, Organizing
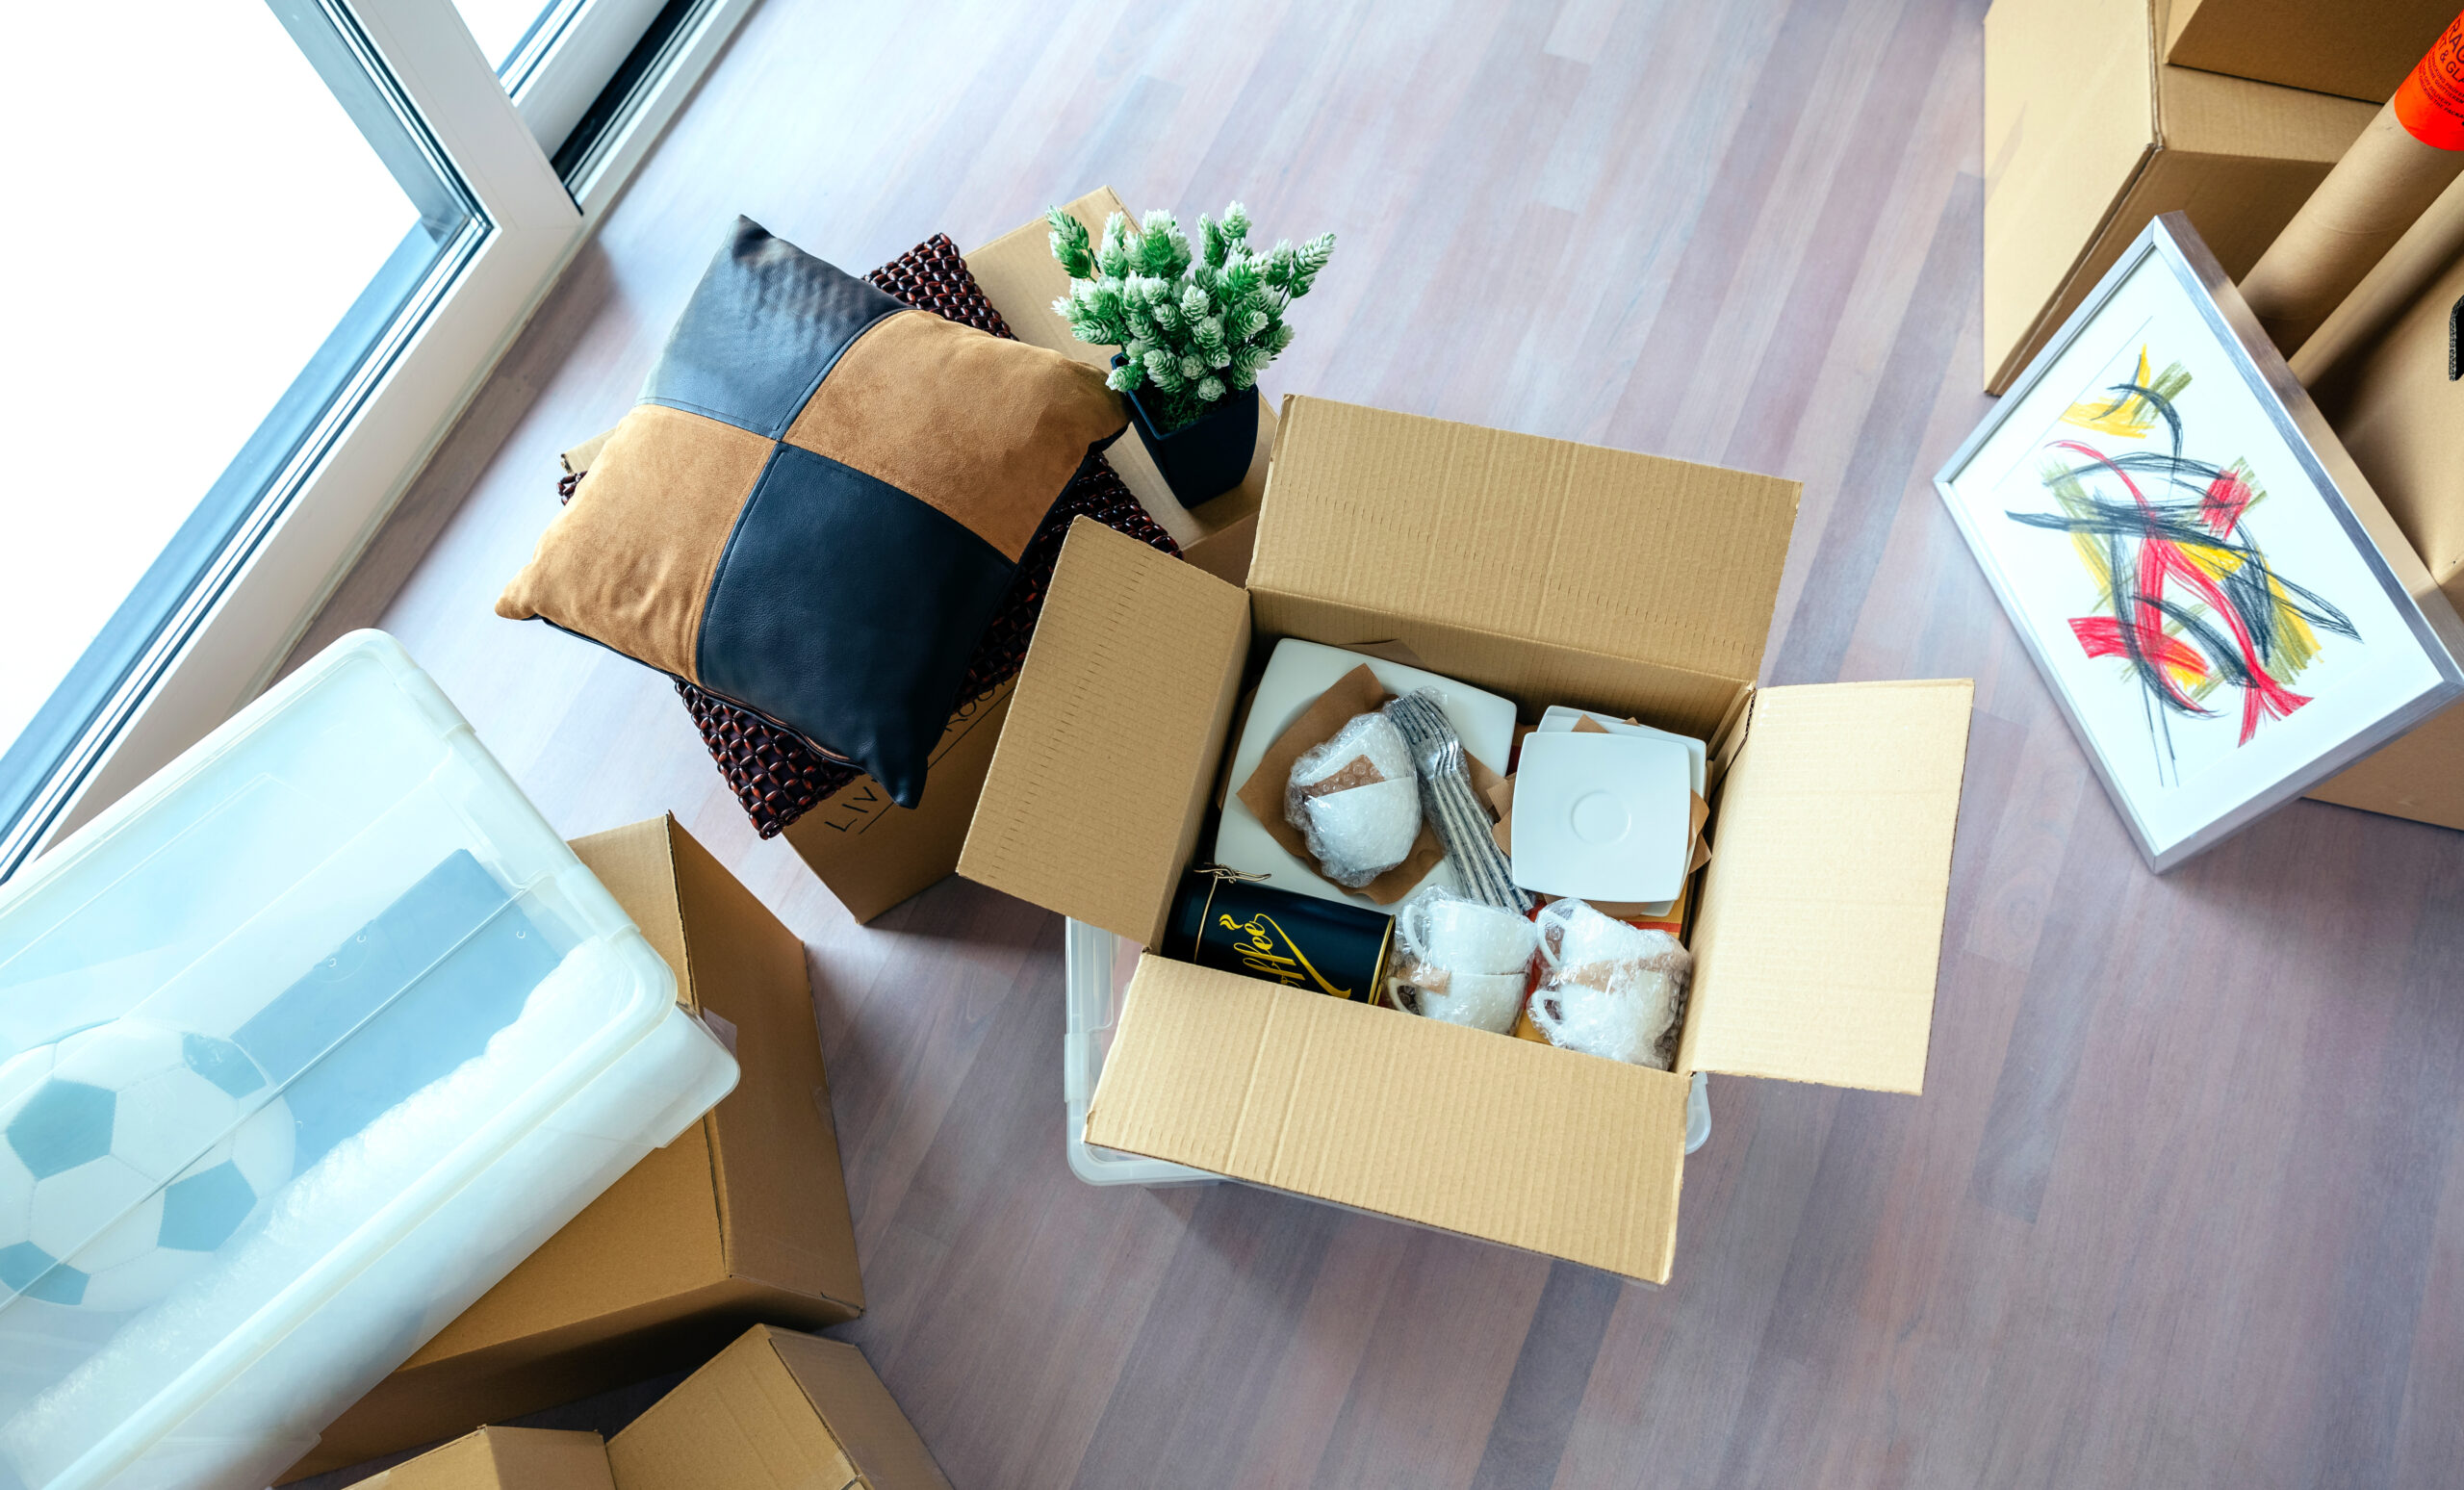
Getting your home back in order after a year-long pandemic is no light task. All items in your home will be identified as purge, store, or put away. Work your way through your home with a plan. Follow the system of gather, sort, purge, organize and label for each area of your home.
Here are some ideas to help make this daunting task more manageable.
 1. Start with Storage
Start with your storage areas such as the basement, attic, and garage. Understanding what you have in storage can help determine where to store your items as you work your way through your home. This is also a good time to clear out the items that you no longer need or use. Break this project down into categories of items or areas of storage. Thoroughly go through each item and group it into topics.
2. Infrequently Used Spaces
The next area to tackle would be an area of your home that you do not use every day or will not impact your family’s day-to-day operations. These areas may include guest bedrooms, hall closets, recreation rooms, and the office. Break these areas down into very small, manageable projects. This may require organizing one small drawer or bin per day. Work through the area by area while staying focused. Since these areas are not used daily, it is OK to pause your organizing, close the door and resume tomorrow.
3. Everyday Spaces
The last areas to organize will be the areas you use every day such as the master bedroom, kitchen, and living room. These areas should be relatively easy as you have established what you have in storage and organized items that are not used daily. Rarely used items you will find in the areas you use every day and can be placed in the proper categories in storage. Remove items that you do not need or like (you have probably heard me say this many times). Clearing this clutter will help your home feel more functional and be more organized.
Create a Generous Schedule
Remember, organizing your home can be a daunting process after a year at home. Create a generous schedule working through your home as listed here. Stay focused, get help and allow yourself some grace. Life is getting back to normal and so will your home.
Top Shelf Home Organizing has helped dozens of households simplify, reduce, and get organized. If this process is overwhelming to you, we can help. Contact Jayme to see how Top Shelf Home Organizing can help you.
by Jayme | Feb 4, 2021 | Organizing, Travel
Being organized will make a family road trip an amazing and memorable experience. When everyone knows the route, schedule, activities, and food, the trip will go as smoothly as it can. Here are some ideas to help get organized for the family road trip.
 Map out the Route in Advance
Map out your route to help plan your trip. Understand where there may be traffic jams, construction, and road closures so you can plan for detours. Print your map, even if you are using GPS there may be areas without service. The kids might also enjoy a copy of the map to follow along. Plan for frequent stops to swap drivers and get some exercise. Consider worksheets, stories, and games that are themed around the geographic location you are traveling through. It will add value to the travel experience.
Schedule Car Activities
Have a schedule for activities in the car, stops along the way, and arrival time. A schedule will help ease anxiety and limit the “Are we there yet?” questions. Break the schedule into one- or two-hour segments for making stops, meals, and changing activities. Have a variety of activities for the kids to complete amongst themselves, independently, and as a family to make the time go by. Ongoing activities and competitions such as a license plate game, road trip treasure hunt, and bingo allow for some friendly competition. Independent activities can include simple crafts, coloring books, activity sheets, and reading for nice, quiet time.
Plan Snacks and Meals
Create a plan for snacks and meals for the trip. Healthy food options that are well thought out will keep energy up and appetites satisfied. Kids like to eat often, so allow them choices for healthy snacks every hour or so. Schedule in special treats too so they have something to look forward to. Fresh veggies, fruit, veggie chips, granola bars, finger sandwiches, and cheese and crackers, are great choices to help you avoid expensive stops for unhealthy fast food. A road trip meal plan will also keep the captain’s and co captain’s energy levels maximized. A little preparation before the trip will keep everyone nourished.
Organize Car Ahead of Time
Organize the car at the start of the trip. Have a place for food, activities, personal items, and emergency items that may be needed while in transit. Overnight items can be packed a little deeper in the vehicle. We suggest having items needed for any overnight stops on the way packed in a separate bag or area for easy access.
When the trip involves daily travel to new locations and lodging, consider separate bags of clothing for each stop to reduce the need to completely unpack and repack. Have the kid’s activities and materials organized for each child to prevent panic and frustration as they will know where everything is. Have your personal items organized too such as cash, water, snacks, sunglasses, umbrellas, and maps. You will want to have extra water, plastic bags, wet wipes, medication, and emergency contacts available. For the return trip, keep the same level of organization to reduce stress and keep the vehicle tidy.
Have fun planning your next family road trip. The more organized the plan is, the more enjoyable the experience will be.
by Jayme Radomski | Jan 5, 2021 | Clutter, Organizing
 Deciding what to keep, donate, and toss through your organizing journey can help relieve the pressure of organizing. Identifying these three categories will depend on your personal needs and the time of your life. Your reason to get organized may be to keep your busy family functioning efficiently, to prepare to downsize and simplify your household or free up some space for the things you love. Everyone has a different “why” for their organizing journey.
Have a plan before beginning this process! Take an informal inventory of everything you have in your home. This inventory can be done with a simple pen, a legal pad of paper, and a walk-through of your home. Write down general categories of everything. While taking this informal inventory, make a preliminary note of where each item might go. You can also take note of what categories to start with. As this plan evolves, remember the goal is keeping what is really important and what you really love.
Top Shelf has prepared a guide to help you think through what to keep, donate, and toss.
The Keepers
Needs
The easy part of deciding what to keep is identifying what you need. These items are needed for daily life and are simple and basic. If you were to move into a camper or very small house, what items would you need to live? Basic cooking tools, a simple assortment of dishes, clothes, towels, and some toiletries are examples of items that are needed. In a larger family, there will be additional items that each family member needs to live and function.
Wants
Going beyond needs, there will be many other categories of items you would keep. The categories go on and on. We will touch on a sampling of these items such as heirlooms and memories, toys, household items, clothing, personal care, and hobbies. Wants is where we have balance practicality and excess. Your home is full of useful items, but if there are not being used, they are not useful to you at all.
Heirlooms and Memories
Heirlooms and memories are important to carry on your family legacy. These items should be just that, your legacy. Heirlooms and memories that have the strongest, happiest memories are what represent you. Items that do not represent your legacy and do not have the best memories can move into the donate or toss category. You might come across love letters, trophies and medals, a wedding dress, artwork, schoolwork, photos, and more photos. A sampling of these items that represent you and what you want others to remember is important.
You certainly would not want to burden your family with an excess of items that do not reveal your legacy or bring on sad and hurtful memories. For example, a medal from a marathon you actually didn’t complete, participation trophies, your 3rd-grade spelling test, love letters from an abusive partner, and repeat photos of the same event are items that don’t represent your legacy. Instead consider keeping your diplomas, a piece or two of artwork, taking photos of important trophies and metals, keeping important metals (military metals), and a love letter from your current spouse. Admittedly, heirlooms and memories are a tough category, but one that certainly needs to be addressed and organized.
Toys
Toys the children still engage in will remain on the keep list. Toys that no longer keep kids engaged or are damaged, might belong on another list. Saving toys for grandkids, and nieces and nephews may become a burden as toy safety is ever-changing. The size of the toys is another consideration. If it does not pack away nicely, the toy may not be worth saving.
Household Items
There are items that fall into the need category, but excess may need to move to the donate category. Think about items like dishes, linens, towels, makeup, self-care products, sporting goods, shoes, décor, etc. These are the areas you will want to think about how much of each item is reasonable to keep.
After you have determined what items are an absolute need, you can then determine a reasonable amount of wants in this category. This topic has been discussed over and over in the professional organizing world. This category ranges from the linen closet to the kitchen, to the china cabinet.
Make an informal list of all the categories within household items and place a quantity on a reasonable amount of each item you would like to keep. For example, you may want to keep two bath towels for each person in your household plus an additional four just for guests. Any excess towels are great candidates for donating to a charity that can utilize them. You may only need two or three pots of different sizes in your kitchen. Wine glasses may be reduced if you do not host large parties anymore.
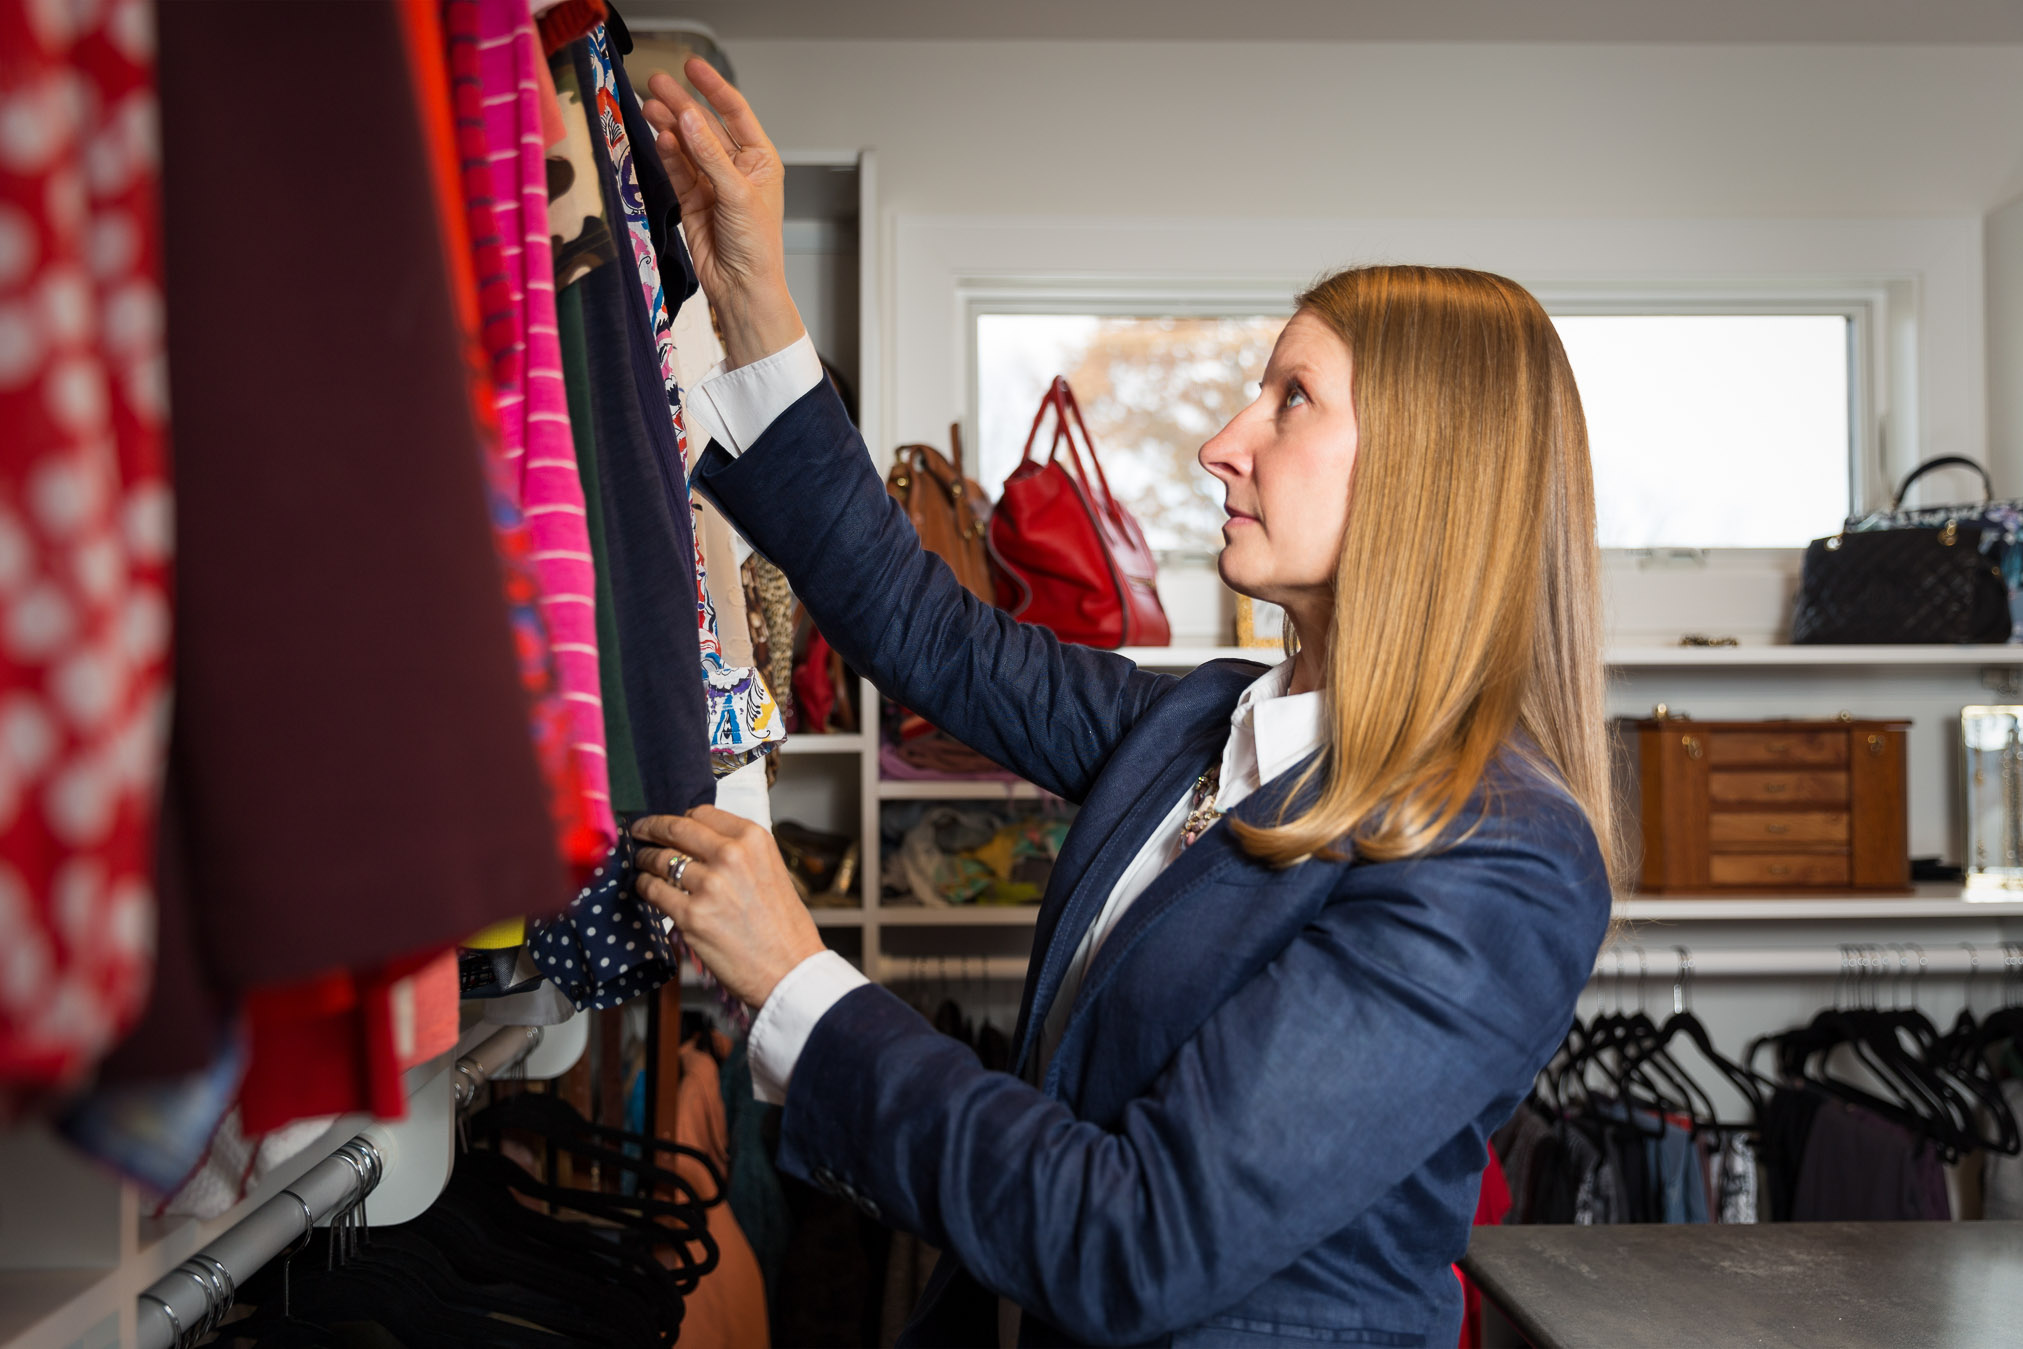
Clothing
Clothing is a topic all on its own. We spend a lot of time and money on the purchase of clothing which makes it difficult to part with. Clothing that is worn and stained are candidates for textile recycling where the material itself is used to create new products. Clothing that does not fit, flatter, or function can be donated to a charity looking for clothing. Saving clothing of a previous size or two may cause you to stress trying to be a size you were in a different season of life. Love what you wear now, and reward yourself with something new when weight and fitness goals are reached. Be ruthless in this department. If you do not truly enjoy wearing an item, it is time to pass it on to someone who needs it.
Personal Care
Personal care items can quickly accumulate, especially if they are not organized and inventoried regularly. Once you gather and categorize the items, toss anything that is old, expired, and open, and not wanted. Unopened items that are not wanted can be donated to local shelters. Take note of what you have remaining.
Have a central storage location for these items for better inventorying. Understanding what you have will reduce over purchasing of these items. Additional information on organizing these items can be found in Simplify and Organize Your Linen Closet.
Hobbies
We have hobbies that we once enjoyed, hobbies we currently enjoy, and hobbies we aspire to pursue. All these hobbies require supplies and equipment. Focus on just keeping supplies for the hobby you are currently into and have time for and hobbies that are likely on hold. The supplies and equipment for past hobbies and aspirational hobbies might have a better life with someone else who has the time for them. They make great donations for resale.
Off to Donation
Donating items can be a simple as dropping off all items at a donation center, or you can carefully select what charity will put each item to its best use. Be realistic about how much time you spend deciding on what goes where. The goal is to put your useful stuff back in use by someone who needs it. Donation centers can be overwhelmed with items so be mindful of what you send their way.
What to Donate
Donate items that are in usable condition. Items that are missing parts, broken, stained, or torn can be recycled or sent to a landfill. Donation centers typically do not take electronics, certain baby items, mattresses, or furniture. Expired items should bypass donation and go right to the landfill.
Where to Donate
Different organizations need different items. If time allows, you can send different items to different organizations. For example, animal shelters can use linens and towels, hospitals can use clothing for patients to wear home when their clothing has been destroyed or is needed as evidence, shelters need toiletry products, and food pantries will take unperishable food that is not expired. This Donation Guideline published by Goodwill Industries is a great resource for general donation information.
Off to the Recycling Center or Landfill
When items are no longer useful or functional, they can be recycled or disposed of. The local refuse and recycling service publish what items can be picked up for curbside recycling and disposal. Understand what can be recycled through this service in your area. Additional items can often time be picked up for recycling for an additional fee. Other items may need to be brought to a specific recycling center. These items can include textiles and clothing, plastic gardening pots, plastic shopping bags, motor oil, and wood.
There are items such as oil-based paints, batteries, and hazardous materials that will need to be brought to a household hazardous waste drop off-center. Learning your municipality’s rules will help make decisions on what items can go where.
Have a Plan
There is no doubt going through personal and family items is emotional, exhausting, and can feel endless. A strategic plan to tackle this daunting task will help keep you on task. Start with easy items such as food and toiletries. Making some simple progress, in the beginning, will feel good and motivate you to keep going. It is not about getting rid of everything. It is about keeping what is really important.
Top Shelf Home Organizing has helped dozens of households simplify, reduce, and get organized. If this process is overwhelming to you, we can help. Contact Jayme to see how Top Shelf Home Organizing can help you.
by Jayme Radomski | Dec 4, 2020 | Clutter, Organizing
 Winters are long and hard in the Midwest. So how about tackling some quick and simple organizing projects on the long, cold days to beat the winter blues? We put together a quick list of projects you can have ready to blast through on the next snow day.
Simple organizing rules apply to anything you are organizing: gather, sort, purge, organize and label. Have a rag and cleaner ready to wipe down the area after it is emptied out before you organize and label. Sort by category to get a clear understanding of what you have and what you can purge. When organizing and labeling, use clear containers with labels and keep items in their categories. This will help keep the area organized and inventory under control.
1. Craft closet
Gather all craft items into one area. Sort the items by category. Purge items that are not useful (scraps, dried products, dull scissors). Organize the items and use fun labels to inspire creativity.
2. Game closet
Pull all games out of the area. Reassemble games with loose pieces and cards. Give a little TLC to damaged boxes with some strong packing tape. Sort games into age categories. Remove any games that no longer interest your family or games they have outgrown. Organize the games by category and include labels for simple replacement.
3. Pantry
This is a great project for any season. Remove all items from the pantry. Sort by category. Remove any old, spoiled, or expired food. Donate food that is unopened, not expired, but not wanted. Find a new home for any non-food and non-kitchen items. Keep all food in the same pantry or area of your kitchen. Categorize your food into grains, pasta, soup, fruit, vegetables, snacks, lunch items, etc. Utilize clear bins with labels to help keep food in their categories and help you identify items you are getting low on.
4. Storage Containers
Gather all storage containers and lids. Pair up the containers with lids. Recycle containers or lids that don’t have a partner. Organize containers by size and nest them together if possible. Keep a reasonable number of containers. Excess containers make staying organized a challenge. Place storage containers in an easy to reach location and label the shelves. Having to bend over or reach too high is an invitation for this category to become messy again.
5. Sock Drawer
Socks are a quick and satisfying project. Like any other category, you’ll gather all socks and put together pairs. Make sure you have your socks from the laundry hamper washed and included in this step. You may choose to fold or ball them together or roll them up. Remove the socks that don’t have a partner, have holes, have failed elastic or the socks that you don’t like to wear.
6. Refrigerator
Place all items from the refrigerator onto your countertop. Wipe down the shelves, drawers, gaskets, and door. Toss food that is expired, spoiled, and unwanted. Categorize the food into categories such as fruit, vegetable, dairy, condiments, lunch, leftovers, etc. Deep, clear bins with labels may help keep items in their categories. Place items back into the fridge in their categories. You may need to adjust some shelves based on the size of your items.
7. Freezer
Organizing the freezer is just like organizing your refrigerator. Empty the freezer and wipe down all the surfaces. You may need to complete a quick defrost. Categorize the food items from the freezer into categories such as vegetables, fruit, desserts, prepared meals, meat, etc. If you have a large freezer, you may want to write down an inventory. A formal inventory will help you with meal planning and inventory control. Toss any food items that are expired or have gone bad. Consider clear freezer bins for the loose items. When returning the food to the freezer, keep the older items closer to the front and new items to the back for first-in, first-out inventory control.
8. Winter gear
Gather and sort all winter gear by the person and then by category (glove, hats, scarves, face masks, etc.). Inspect for holes, tears, wear, and damage. Donate items that are still functional, but may no longer fit your size or your style. Use bins or an over-the-door, clear organizer to keep everyone’s gear organized by person and category.
9. Photos
Grab a box of photos from the basement or a file from your computer. Sort through the photos and place them into chronological order. Remove any photos or photo files that are duplicates or don’t display a picture you want to keep. Tag people in the photos for future reference. This can be done with a photo-friendly pen on the back of physical photos. Use index cards or subfolders to identify special events within the photo box or file folder. Clearly label the photo box or file folder with the date range of the photos and any major events that are included.
10. Books
There are so many ways to organize books. Keep this task simple by gathering all your books into one area. Categorize your books into categories that you would use to retrieve them (cookbooks, reference books, professional development books, mystery books, children’s books, etc.). Donate books that no longer interest you. Place books by category to an area where you use them or on a central bookshelf. Use labels, if it will help family members remember where to replace books when they are done reading them.
11. Spice cabinet
Gather all the spices from the spice cabinet and other areas of the kitchen. Categorize the spices by name. Toss spices that are old. Many spices now have an expiration date, or you can use the one-year rule of thumb. Place spices back into the cabinet in alphabetical order, reserving the front and center for the few spices (and seasonings) you use most frequently such as salt, pepper, cinnamon, etc. You may want to consider a riser or bins to help keep spices organized and visible. Labels can also help quickly identify if a spice is in stock.
12. Linen closet
Gather and sort all items of the linen closet into categories. Pair down and donate excess items. Remove items that are cluttering up space such as seasonal items and items with limited use (beach towels, humidifiers, extra hair dryers). Neatly fold items and use clear bins for toiletries and other loose items. Label shelves for easy retrieval and replacement.
13. Office supplies
Gather and sort all office and school supplies in one central area. Use clear bins and containers to organize items by category. Store all the items in one common area so family members know where to go for supplies, know where to replace them when done, and to keep a good inventory. Be sure to label all categories.
14. Media cabinet
Tackle your media cabinet by removing all items and wiping down all surfaces. Straighten and organize cords and cables. Categorize all movies and music CDs if you still have physical media. Gather gaming devices and gadgets, and place them into a bin. Place all categorized items back into the cabinet and label.
Refresh your mood and your home with these quick organizing projects. Just a little bit of organizing can take your mood a long way. Select projects that fit the time you have so you can feel accomplished and complete. Jayme at Top Shelf Home Organizing would love to guide you through your organizing journey. Let’s talk!
by Jayme Radomski | Nov 23, 2020 | Organizing, Work & Home Office
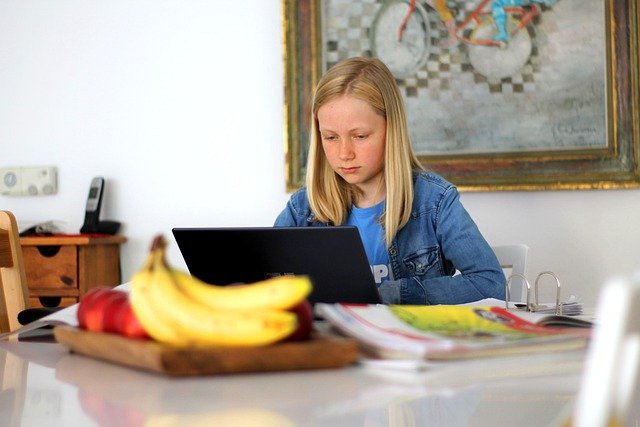 Transitioning from in-person learning to remote learning can be exciting and challenging for families. Setting a plan and expectations can help this transition when it occurs. Four areas that you can help organize for your learner include the daily schedule, location of learning, learning supplies, and learning materials.
1. Schedule
Know, print, post, and set the schedule for the day. To ensure punctual attendance to synchronous class time, the class schedule needs to be known. Schedule class times into your and your child’s calendar with a reminder. Print and post the daily schedule in your child’s workspace, your workspace, and at the family command center. This can help keep everyone on schedule.
2. Location
Help your learner select a good location for learning at home. A space that is quiet, well-lit, promotes creativity and productivity. For some learners, they may focus well sitting at the kitchen table. Other learners may need a secluded place to effectively learn. You may need to consider a station in a bedroom or other less traveled space.
Doing a quick declutter of the learning space will help with focus and productivity. If learning is happening in their bedroom, have your child make their bed, place dirty laundry in the basket, and limit the toys and distractions in the space. The same concept applies to the dining room, kitchen, and learning nook. Your student may need to change locations throughout their workday. A change of scenery, lighting, and distractions is good. Maintain a consistent location where they will keep their supplies and materials.
3. Supplies
Equip your learner with the supplies they will need to complete their work. These materials are very similar to what they have available at school. Ask your child and your child’s teacher what supplies they use daily at school. Have a simple selection of these materials at your learner’s workspace. Keep in mind their age and learning level. A young learner may need some sharp pencils, an eraser, a selection of markers, and some paper. An older learner may need a calculator, paper, charging cable, a mouse with extra batteries, and a headset to keep their day going.
A printer, stock of extra ink, and paper will also be necessary when physical documents are needed. Make sure everyone’s computers and learning devices are set up to the Wi-Fi and printer before the day begins. Remove any extra supplies that may act as a distraction to learning.
4. Materials
When learning transitions to at-home, learning materials will need to be prepared and available. Teachers may share the learning materials with you and/or your child.
Have the materials available and ready to go in the workspace by the start of the workday. This will help avoid frantic searching for materials or bottleneck backups at the printer throughout the day (you know this is when the ink runs out and the paper jams). Classroom learning links should be open and waiting on internet browsers to ensure timely attendance to meeting times.
Being prepared and having a plan for a shift to, or from, remote learning can help your learner succeed through the transition. Organizing these four areas, schedule, location, supplies, and materials will help with effective learning from home.
If creating a workspace is overwhelming for you and your learning, Top Shelf Home Organizing can help. Jayme would love to talk about creating a learning space in your home.

 Welcome to Top Shelf Home Organizing. Are you ready to feel the freedom of an organized home and office? You deserve to have a home and office that is as organized and productive as it can be. You are busy, we understand. We are here to help you achieve, what you dream your space can be. It is time to stop sifting through the clutter to find what you need.